Build a back to school DIY desk space with items from Habitat ReStore
Back-to-school DIY desk space ideas for getting your kids’ desks ready for homework: shop Habitat for Humanity ReStore for ready-to-use deals on desks and little treasures perfect for upcycling.
Even if your kids are doing most of their work on iPads or laptops, a desk and shelves--for paper, printer, art supplies, external drives, headphones--are still essentials for homework.
It’s an easy-fix to pick up a desk and chair from Habitat ReStore that’s ready-to-use today, but my favorite solution to creating a personalized and creativity-inducing atmosphere in your kids’ rooms is to dig-in with some do it yourself, or DIY, back to school repurposing. It’s a fun way to make a little homework workstation suited to specific interests and how your child works best.
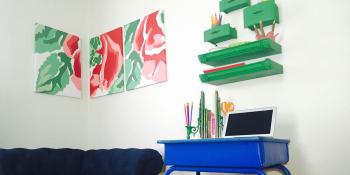
I shopped my local Habitat ReStore and created a little DIY homework station for my 7-year-old that’s made from wall sconces, jewelry case drawers and a few other gems.
I spotted this jewelry box that could have been DIY-loved back into ready-to-use condition, but I wanted to take those drawers and use them as floating shelves. For $16, I couldn’t buy the supplies to make floating shelves with as much character as these seemed to exude.
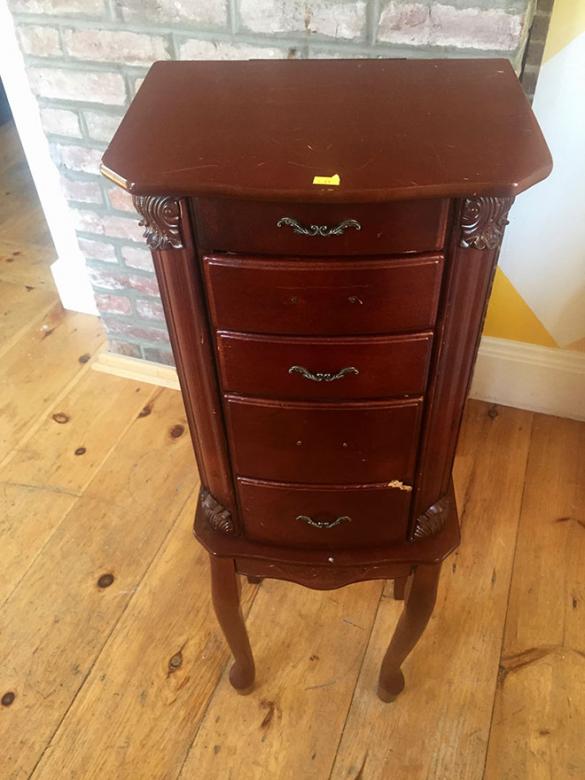
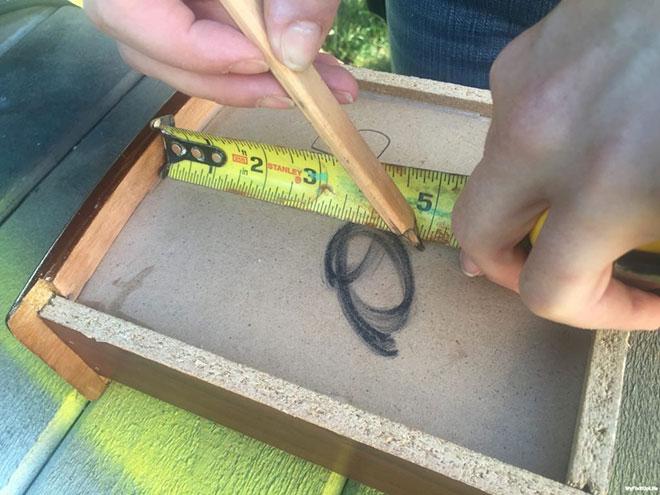
When I got the jewelry box home, I started removing the drawers and the hardware. My goal was to get the drawers ready to transform into floating shelves.
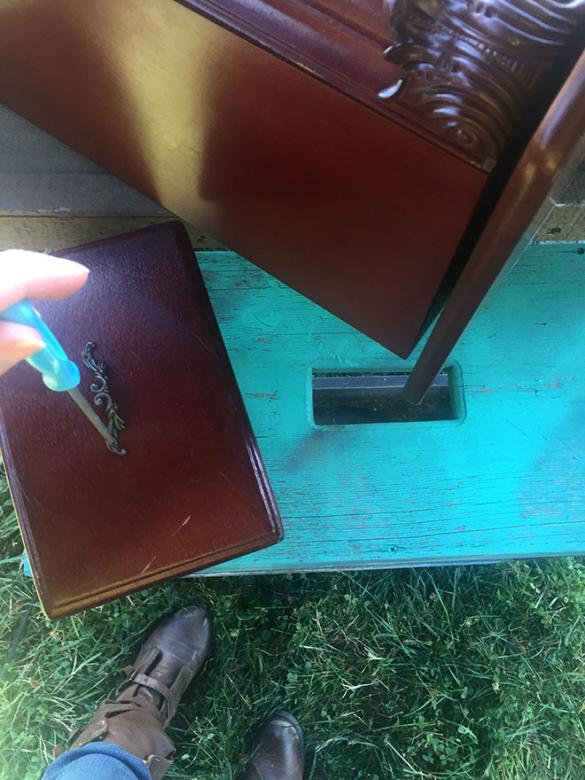
After separating all of the parts to the jewelry box, I gathered my tools. In order to make the drawers have some character from the side-view, I wanted to trim the drawers to different lengths.
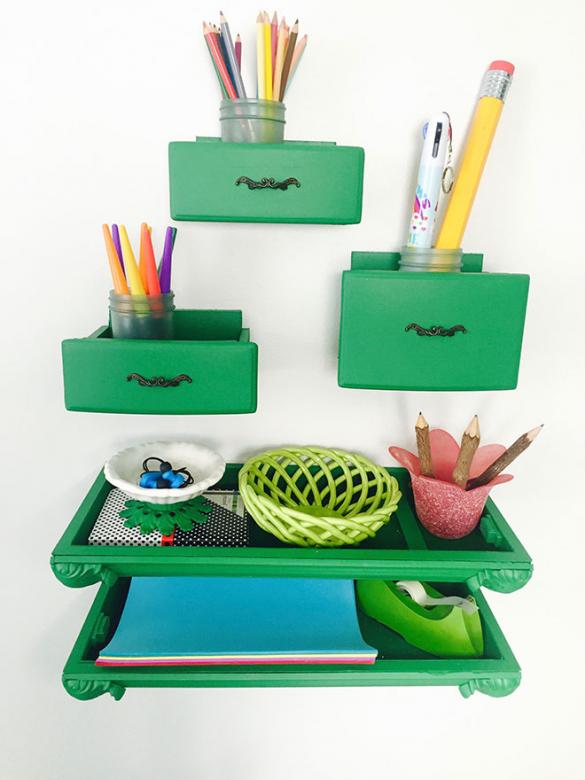
I settled on trimming them to 3-inches, 4-inches, and 5-inches. This is enough space to put a little mason jar in the 3-inch drawer-shelf to hold pencils or markers.
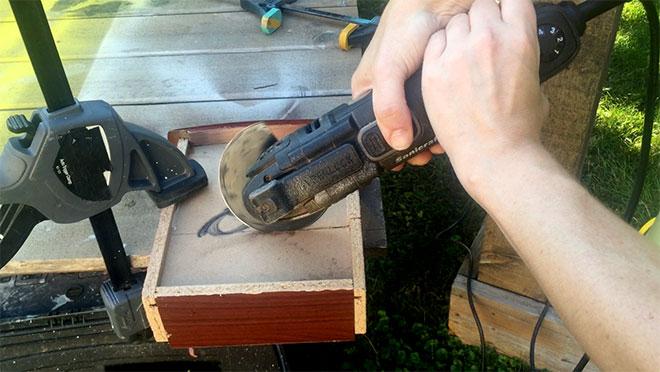
After clamping the drawer to my work table, I cut the drawers to length using my oscillating tool.
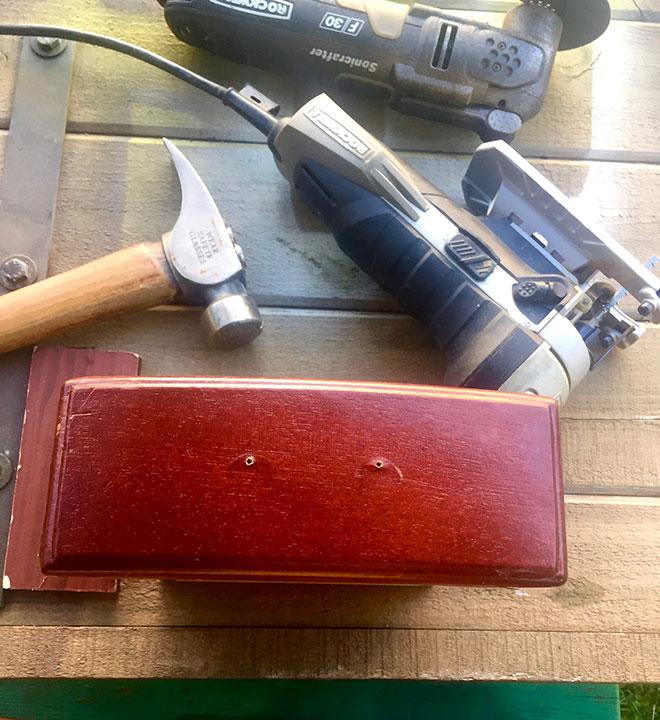
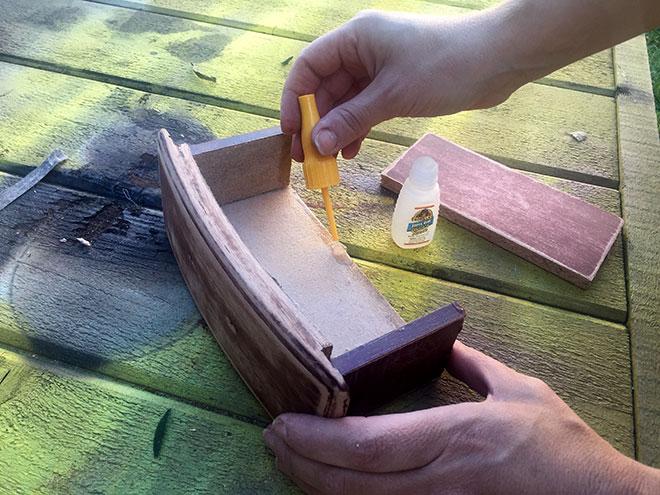
Instead of using new wood as a backer, I reused the old drawer backs by super gluing them back together.
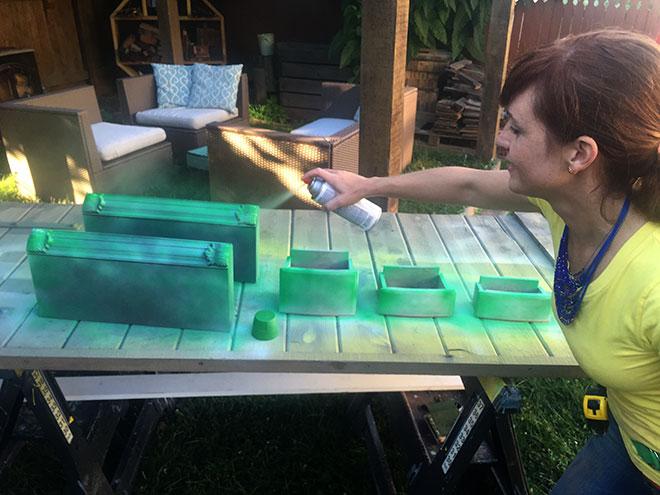
I primed each drawer using a spray paint primer, making several dusting coats by sweeping back-and-forth.
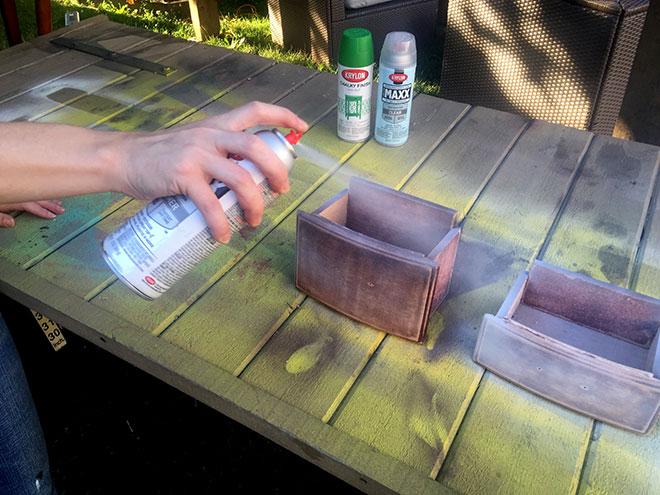
Then came my favorite part of this makeover project: painting the shelves. I chose New Leaf green in chalk finish. It’s my new favorite color, and this part makes me super happy.
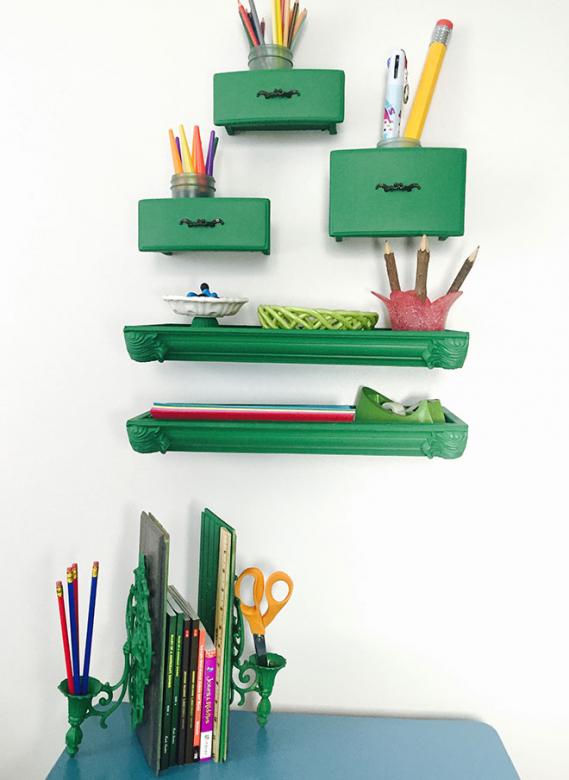
I’m so happy with how the floating drawer-shelves look in the new coat of green. The sides of the jewelry box make perfect little trays for paper and homework, too.
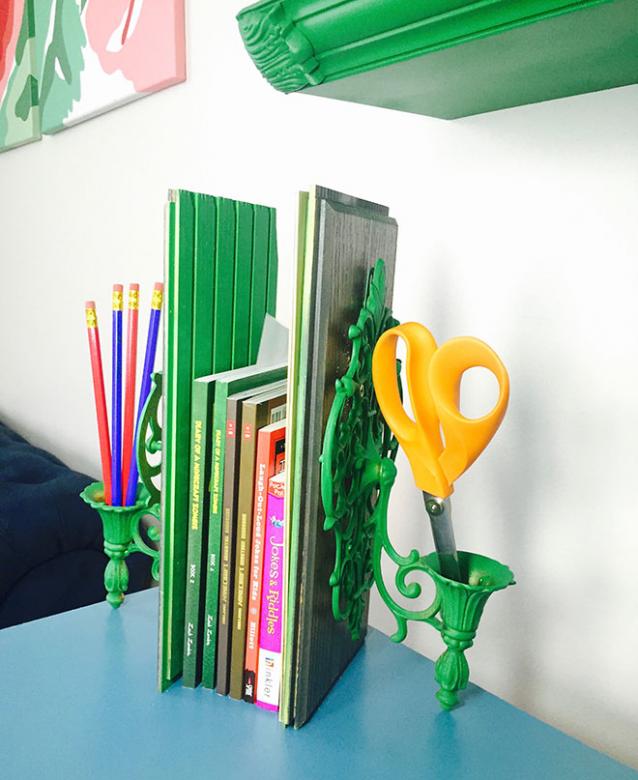
While the drawers were drying, I decided to paint a few sconces that I also picked up at Habitat ReStore. Using cut-offs from another project, I attached them to the little pieces of wood and they are now bookends with tons of personality.
I think this little spot is a perfect location to do a little homework, and the corner chair is a perfect place for me to relax while doing my encouraging job of homework cheerleader!
Theresa co-hosts the MyFixitUpLife talk show with her husband Mark, who is her partner at work and at home. She is the designer for Food Network’s ‘Save My Bakery,’ and designed for Extreme Makeover: Home Edition. She is a licensed contractor, certified color consultant, and certified aging-in-place specialist with a focus on Alzheimer’s. She is an author of Do-It-Yourself Home Improvement, DIY Quick Fix, and Complete Guide to Shelves & Built-Ins.