Tips for learning how to use tools for DIY projects
Learning the basic tool skills needed to tackle do-it-yourself projects is faster and easier than you may think. When I’m asked to share these skills, I am ready with a list of a few of my favorite power tools for DIY projects that can get anyone started. I prefer those that are easy to carry and store, have multiple uses, are well made, and are affordable.
I love tools because they help me create what’s inside my imagination. The more I use them, the more skills I collect. The world of possibility opens up exponentially.
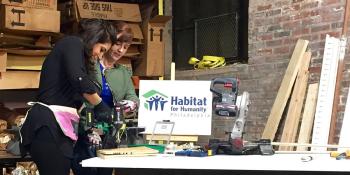
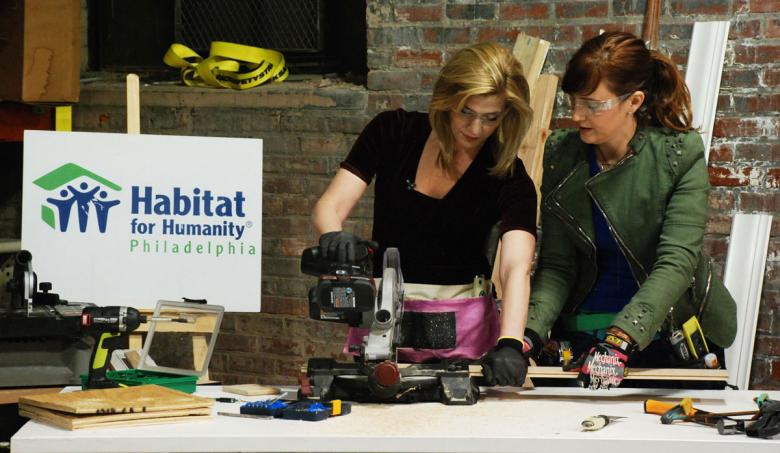
I like to call this “power tool empowerment,” and it’s something that I’ve shared at Habitat for Humanity ReStores through workshops and live demos. I was lucky that the hosts of FYI Philly asked me to teach a private lesson at the Philadelphia Habitat for Humanity ReStore on how to use power tools for their show to convey how easy learning can be.
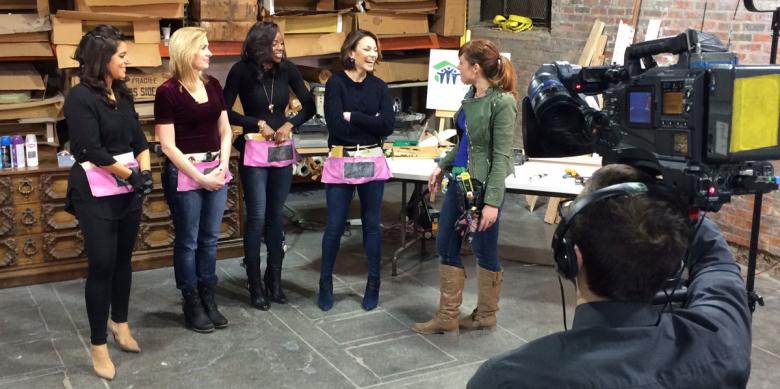
Even though the ladies from FYI Philly had little to no experience, they were able to learn on the fly as they completed two full projects in just a couple of hours. One project was updating an older dresser; you can see them working on it in the photos below.
Some of my favorite essential tools for DIY projects
- Hammer
- Spray paint
- Tabletop saw
- Multi-tool
- Utility knife
- Impact driver
- Miter saw
- Oscillating tool
- Tape measure
- Wood glue
Check out the photos below to see how fast even beginners can learn the tool skills they need to complete their own DIY projects.
Before we got started with the projects and tool lessons, I gave Melissa Magee, Alicia Vitarelli, Karen Rogers and Erin O’Hearn – the hosts of FYI Philly – a canvas tool belt that I custom-painted. Yes, that’s black glitter paint on the front. I put a few of my favorites inside: a multi-tool, utility knife and mini tape measure.
The first tool skill I shared was using an impact driver and driving a pilot hole. Alicia is happily looking on as Karen gets a quick tool lesson. Making sure the tool is perpendicular to the work, and that you do have to exert some pressure as you pull the trigger is important.
It may seem a little basic, but everyone had to measure a board before using the miter saw. Practicing hooking a tape on the end of a board and drawing a quick line can save a lot of time and frustration in any project. Melissa is taking the job very seriously. I like that.
The miter saw has been known to make many nervous, and Karen took a deep breath before we got started. It’s healthy and safe to have a little bit of fear, as it can help you be more careful. I like to use this battery operated miter saw, because it’s compact and very easy to carry. My two biggest safety tips for using miter saws are keeping your hands outside of the guard area, and if you feel like the work is not going right, take your hands off. I like to call this the jazz hands safety approach.
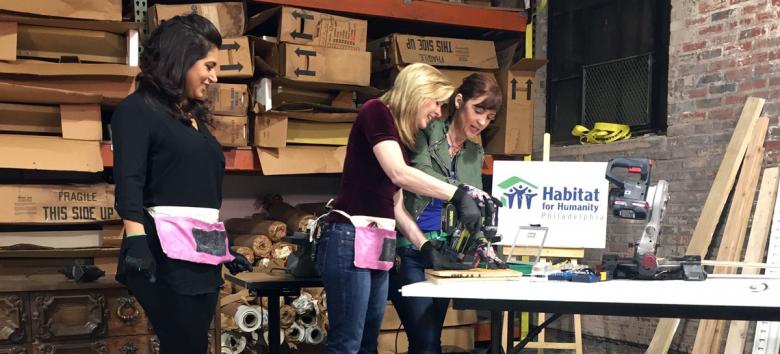
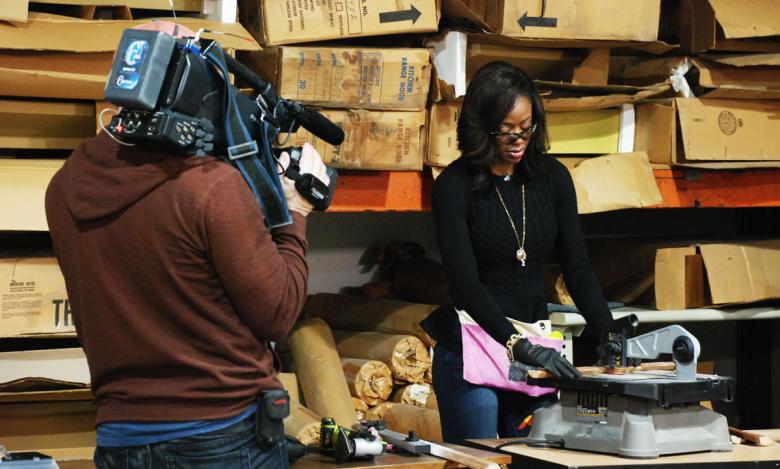
I am always happy to introduce this tabletop saw because it can cut metal, tile and wood, and it can free-form or scroll cut, too. It’s like an upside-down jigsaw, and the safest saw that I own for a beginner.
I like to call this a serious tool face, and it makes me so happy. I love to see others try a new skill and then take off with it. Melissa looks like she’s been using that tool for years.
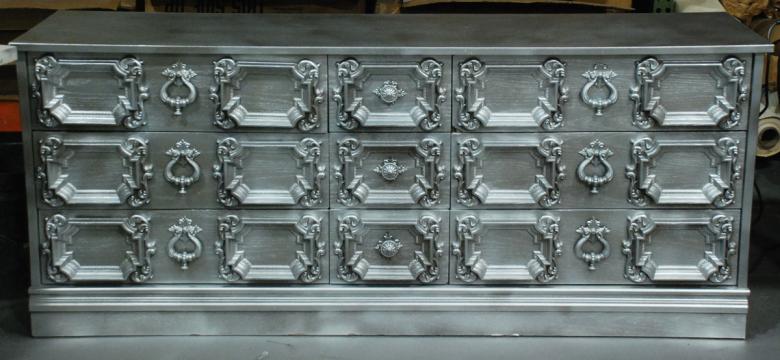
The dresser I spotted at Habitat for Humanity ReStore has tons of vintage character, but I wanted to paint it and make it look “today.”
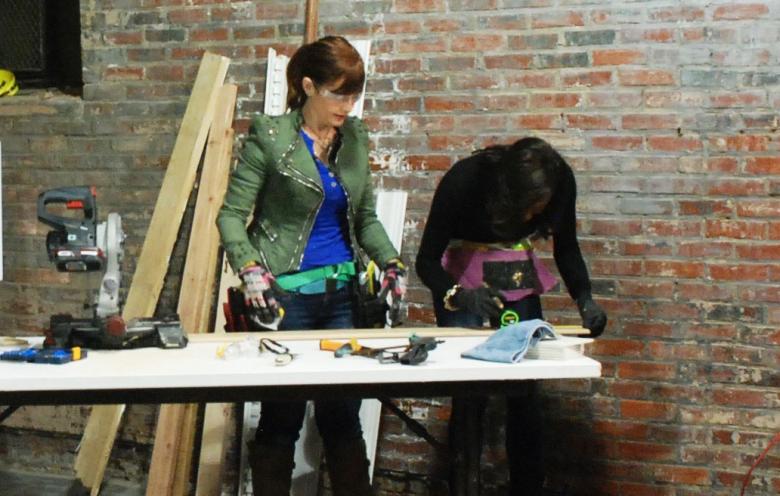
The last power tool we shared is the oscillating tool. Karen and Alicia are using it to sand the finish from the dresser. In order to get an even sanding, the sanding head needs to stay parallel with the surface and the tool should move with the grain.
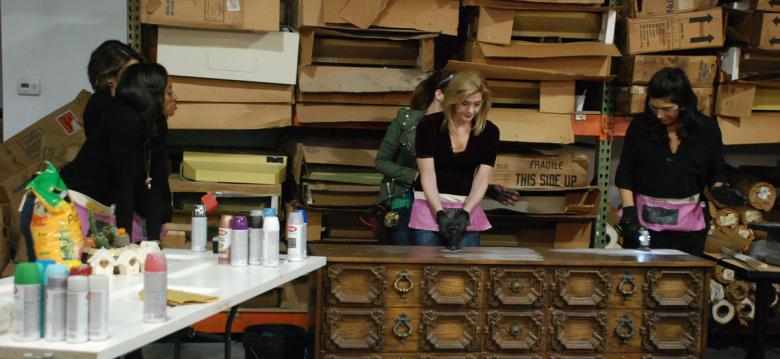
They selected silver for the dresser, and I can’t resist taking part in any painting project.
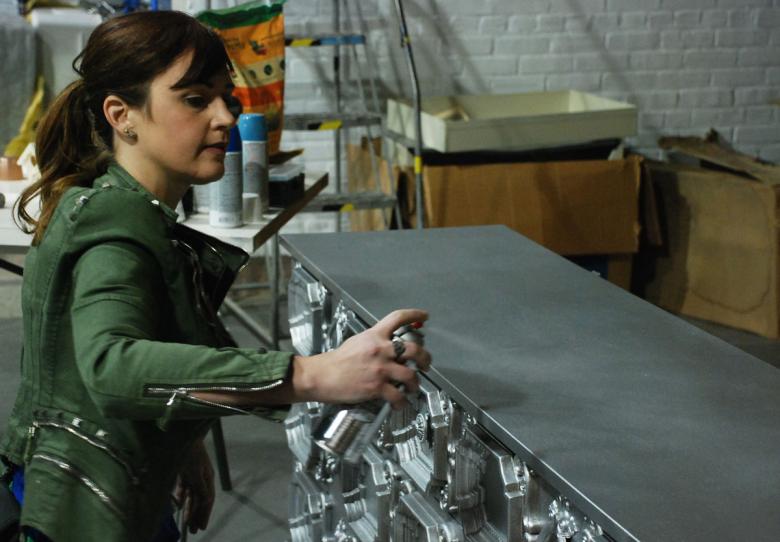
I think the dresser now looks amazing. Sometimes it just takes a little tool knowledge to update a treasure into your home style.
You can see more about how this dresser project and an art project were both completed in a video from FYI Philly.
Theresa Clement co-hosts the MyFixitUpLife talk show with her husband Mark, who is her partner at work and at home. She is the designer for Food Network’s “Save My Bakery,’”and designed for Extreme Makeover: Home Edition. She is a licensed contractor, certified color consultant and certified aging-in-place specialist with a focus on Alzheimer’s. She is an author of Do-It-Yourself Home Improvement, DIY Quick Fix and Complete Guide to Shelves & Built-ins.
Subscribe
Get the latest Habitat news, volunteer opportunities, DIY tips and more ways to get involved.