How to make a desk from cabinets and flooring
I made a new desk from two kitchen cabinets and a box of extra flooring from Habitat ReStore.
At your local Habitat ReStore, every item has the potential to build something meaningful. DIY expert Theresa Clement proved it by turning donated cabinets and flooring into a custom desk for her mom — combining affordability, sustainability and creativity. See how her vision came to life and get inspired for your next project.
My mom is a dedicated crafter who limits her projects based on her desk size, so I wanted to give her more space to work on her paper folding, painting, quilling, and other craft creations. But it’s tough to find a large desk with ample storage that’s affordable and not in a boring color or constructed from particle board or other cheap materials. Since budget-friendliness is my forever goal with DIY projects, I challenged myself to make a new desk for her. And I was pretty confident that I’d find some good-quality kitchen cabinets and flooring at the Habitat for Humanity of Bucks County ReStore in Warminster, PA, to make a custom desk.
Pick the perfect materials for a desk project.
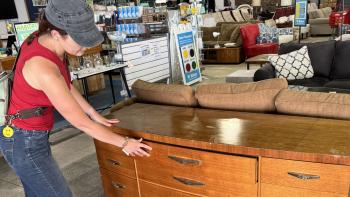
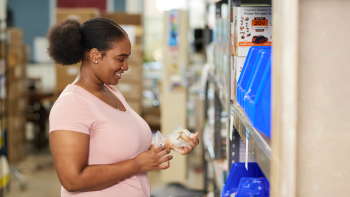
I’ve been to many Habitat for Humanity ReStores, and I’ve always seen cabinets and flooring in stock. And I wasn’t disappointed at the ReStore located in Warminster, PA. I found solid wood base cabinets and boxes of luxury vinyl plank flooring that were the perfect sizes for the 6-foot desk that I aimed to build.
Base cabinets are taller than a typical desk, which is what my mom wanted. She’s getting older and has some trouble with her knees, so sitting at counter height will be easier for her when she needs to rise from sitting to standing. It also allows her to fiddle with her projects without having to sit down or hunch over. As the plank flooring would be the top surface of the desk, I wanted planks that are nine inches wide to minimize the ridges on the surface and at least 6-feet-long. I found a box of flooring that is a light neutral and the right size.
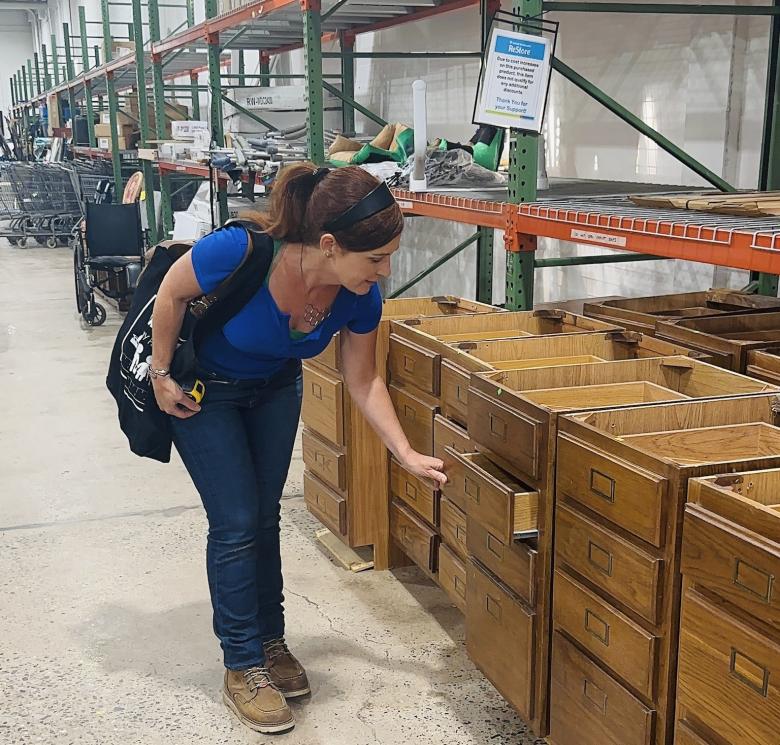
Picking the perfect cabinet.
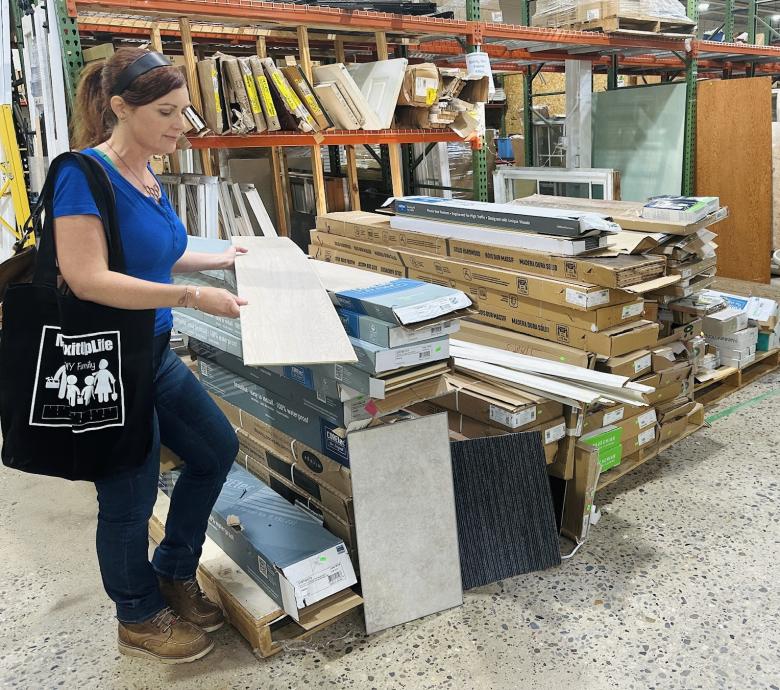
Selecting flooring panels for the desktop.
Evaluate the cabinets and add trim to the bottoms.
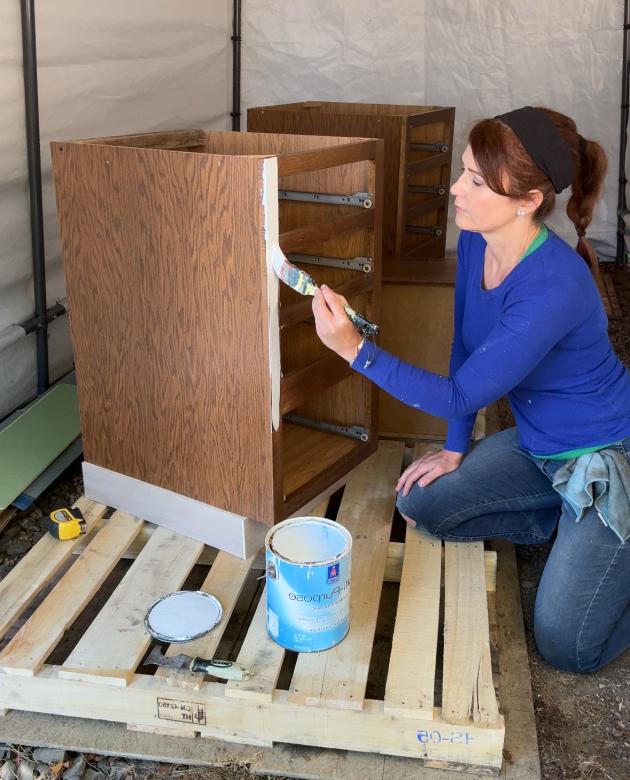
After getting the materials home from Habitat for Humanity ReStore, I set the cabinets on pallets in my backyard work tent. Elevating them off the ground gives me access to the bottoms of the cabinets and makes it easier to paint them later.
After taking a close inspection, I noticed that the bottoms of the cabinets were a little rough so instead of trying to perfect the bottom edges, I cut some of the flooring to make 4-inch-tall trim. The trim elevates the look and also makes the project progress toward completion a little faster. I used construction adhesive and some brads to attach the trim around the bottoms of both cabinets.
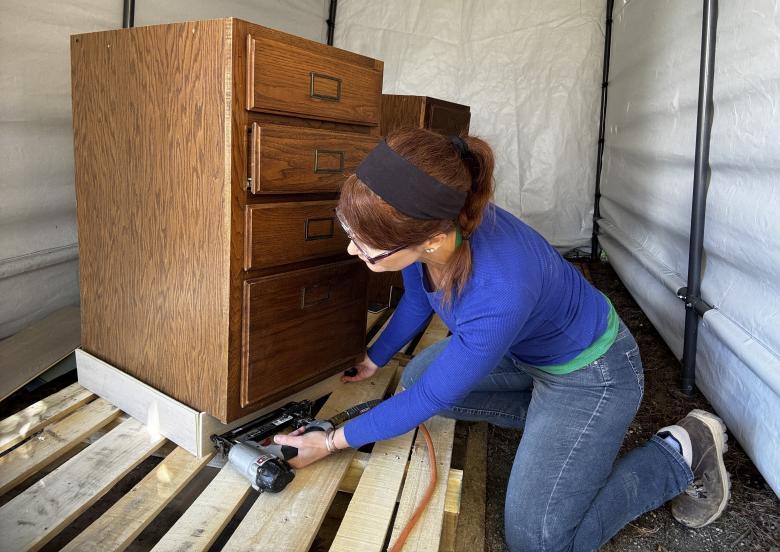
Adding trim to the cabinet.
Prep for primer and paint.
While I’d rather just start painting, there’s prep that needs to be done first to make sure the paint adheres well and is durable. The cabinets needed to be cleaned. Then, when they were dry, I lightly sanded the surfaces to open the grain so the surface is ready to accept the primer.
After sanding, it’s important to wipe down the cabinets again, as paint will attach to the lingering sanding dust and not the surface you want to paint.
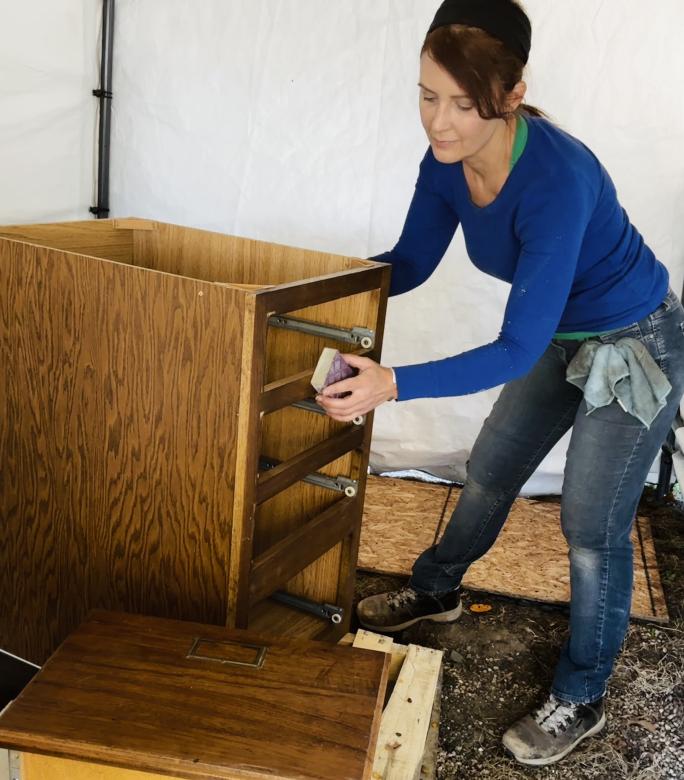
Sanding the cabinet.
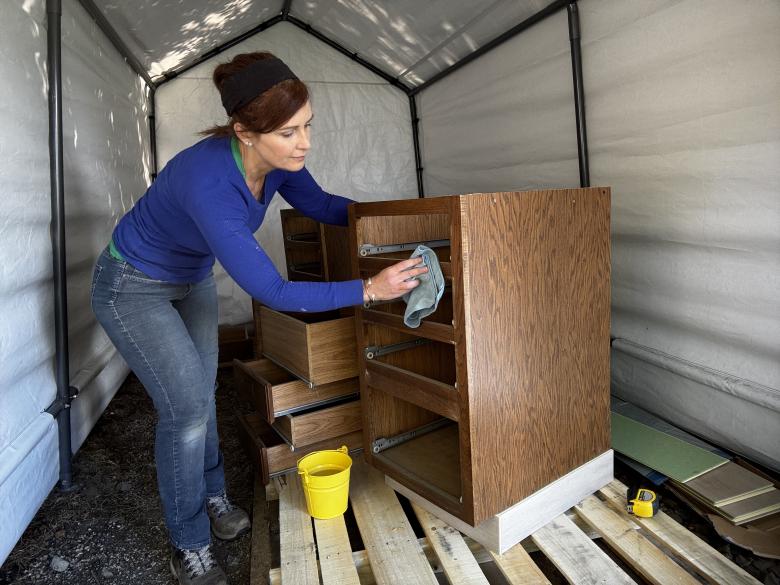
Preparing the cabinet for primer.
Prime the cabinets.
Priming helps set up the paint coats for success. I used a paint brush to apply primer, and I used a small art brush to prime around the metal details on the drawer front. Little art brushes are super handy for getting tiny details that regular brushes just can’t fit.
While I think painting is the most satisfying part of a makeover, it takes longer than you might imagine to prime every surface of two cabinets, and all of the drawer fronts, too. I always listen to an audio book while I paint to make it more fun.
Paint the cabinets the chosen color.
We chose Secondhand Find by Magnolia for the color of the desk cabinets. Again, I used a paint brush to apply the paint. While two coats of paint is plenty of paint for a furniture makeover, I applied three coats just to be extra sure I achieved excellent coverage for my mom. Well, because it’s for my mom.
And since I wanted the surface to be super durable, I then applied two coats of clear sealer over the painted surface. Between each coat, I lightly sanded the surface and wiped away the dust before applying the next coat.
Priming the cabinet.

Painting the cabinets.
Make the desktop support.
The desktop needed to be 6 feet long, and I planned to use the flooring that I picked up at Habitat ReStore as the finished surface top. However, luxury vinyl plank flooring needs something underneath to support it. I had a scrap of OSB leftover from another project, so I cut it to size to bridge the two cabinets and to be a sturdy surface to apply the flooring.
Since I’m planning to transport the desk to my mom, who lives 2 hours away, I built the desk in three separate pieces: two cabinets and one desktop. But the desktop needs to securely lay on top of the cabinets and not slide off while remaining separate from the cabinets. So, I attached two cleats to the underside of the OSB, each placed on the inside of each cabinet—above where your legs go under the desk. With the cleats in place, it’s impossible to slide the desktop off the two cabinets.

Attaching the desk support.
Make the flooring desktop.
The flooring planks were almost the perfect length for the desktop, but I needed to cut off the tongues on the ends and on the long-side of one of the planks so the tongue didn’t hang over the edge. With the tongues removed, I used another piece of flooring to cut 2-inch strips to trim the sides of the desktop so it looks like a solid countertop.
I used construction adhesive to secure the flooring planks to the OSB. And then I applied painter’s tape to the 2-inch edge strips to hold them in place while the adhesive cured.

Gluing the flooring to the top of the desktop.
Enjoy the new desk.
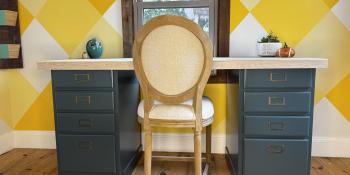
The new desk is comfortable and exactly what I envisioned at the start of this project. I’m actually writing this blog while sitting at it, and might actually be a little bit jealous that my mom will have such a nice place to make her crafts. Maybe I’ll make another desk for me?
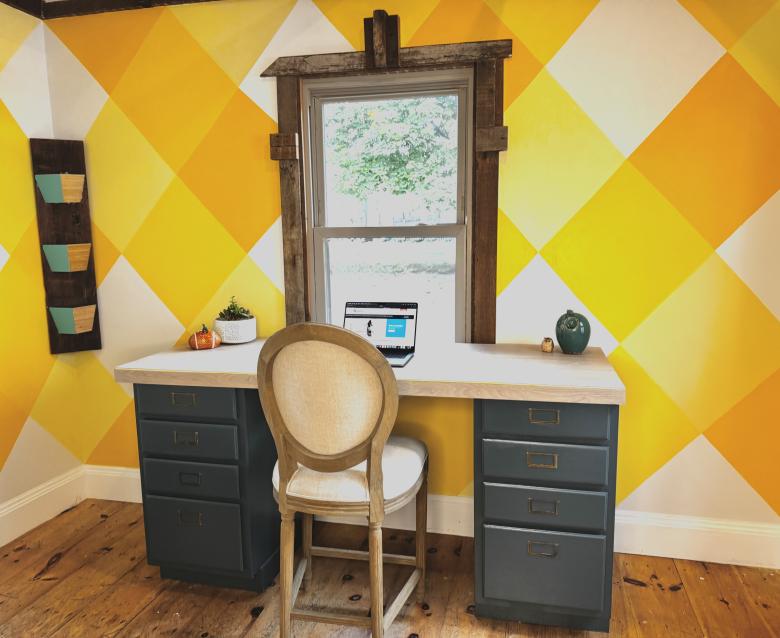
The finished product.
About Theresa
Theresa Clement is a handy designer who has been improving homes for more than 20 years. A certified color expert, she is known for solving design dilemmas with paint. She has spray-painted everything from wood furniture to gumballs to complete a look for a client. Theresa started her career at architecture firms and went on to write DIY books. She’s a contributor to Architect Magazine, JLC Magazine, and Remodeling Magazine. She’s also worked as a design producer on makeover shows. Now, she works with her carpenter husband on private homes and their home improvement brand, MyFixitUpLife.