How to create a faux wooden pallet look
Shopping at my local Habitat ReStore in Clearwater, Florida, feeds my creative spirit. Half the fun of upcycling a piece of furniture is the hunt. I love scouring the aisles until something catches my eye and a new creative idea begins to form. Today, I’m sharing how I painted a faux wooden pallet finish on a dresser. It’s one of my favorite finishes and an easy way to upcycle furniture.
A few months ago, I had the chance to do a makeover on a few pieces of 40-year-old white wicker furniture. This large dresser and desk set was sturdy in spite of being in rough shape. Clearly, I had my work cut out for me!
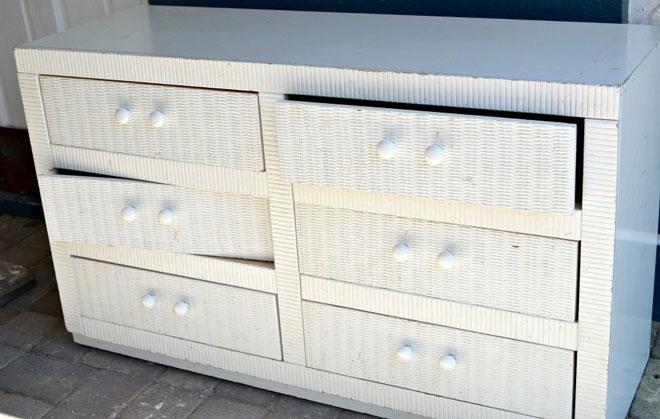
I decided to makeover this set to look like it came from a cargo ship and was made from wooden pallets. It’s not that hard to create this type of finish on most furniture surfaces. I’m going to share how I do this in a few simple steps.
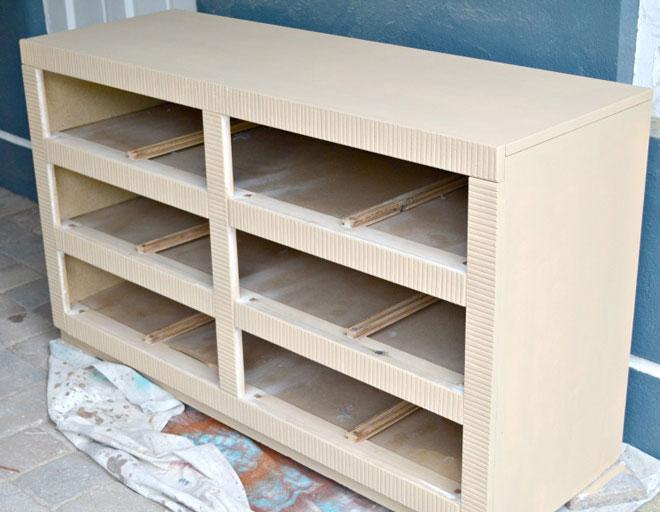
Prepare the furniture first by completing any minor repairs such as filling in big nicks with wood filler and completing a thorough wipe down with a de-glosser. In this case, I also had to replace a few drawer tracks so they glided properly.
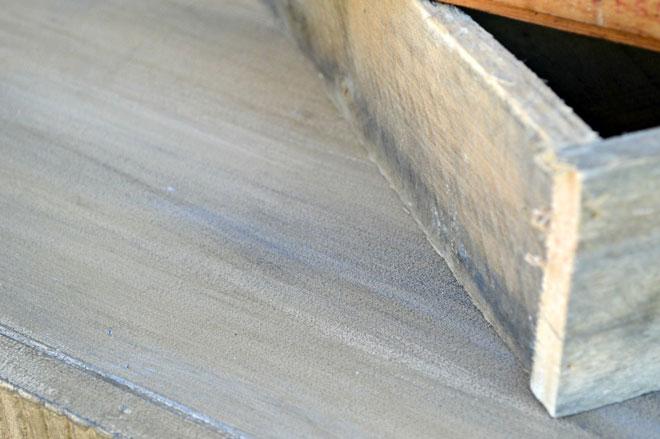
Start with a piece of a wooden pallet to help match the paint colors to get an authentic wooden pallet look. Below is a list of the rest of the supplies you’ll need to create a faux wooden pallet finish.
Supplies
- Three paint colors that match a board from a pallet. Choose a light, medium and dark color. I used about 6 ounces of the light color and less than 4 ounces of the other two colors.
- White paint for the stenciled words.
- Paint extender – I used about 6 – 8 ounces for these two pieces.
- Paint brush.
- Rags.
- Block letter alphabet stencils.
- Clear protective coat.
First, paint your furniture all over with a base coat in your lightest neutral color.
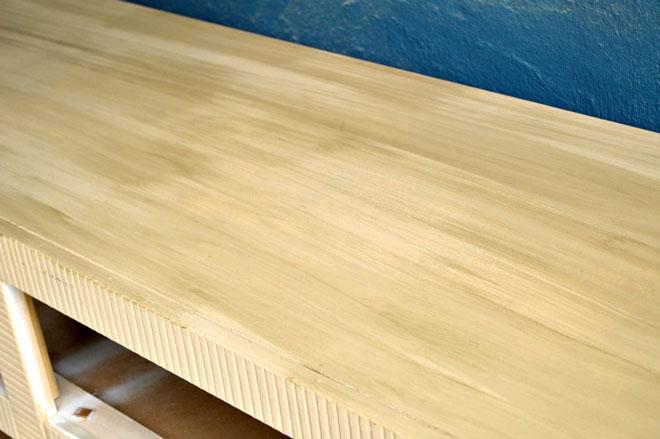
Next, you’ll recreate the look of real wood with color variation. Add the paint extender to the medium color paint and mix well. A little paint goes a long way. I mixed mine in plastic cups, adding a tablespoon of paint at a time until I reached a color and concentration I liked. Thin the paint out so that when it’s applied, you can see through the paint on the surface. The paint extender thins out the colors and slows down the drying time of the paint.
Then, apply the paint mixture in thin layers with a brush sparingly in long straight strokes to create a wooden board appearance. You want to see the paint from the prior coats so each layer will cover a lot less than the previous one. The last color will be used the most sparingly. It’s OK to use a rag to wipe off and blend in excess paint.
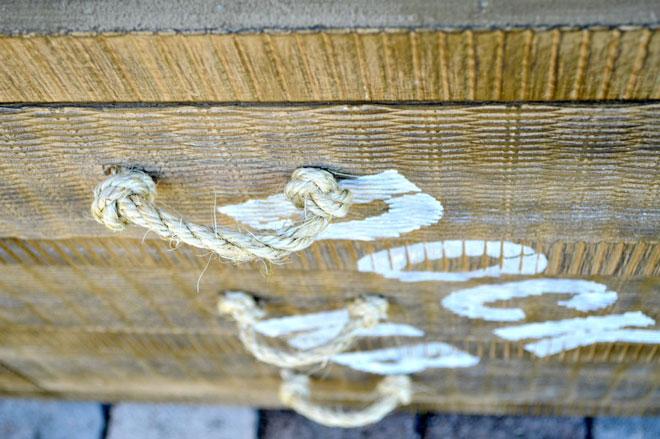
Once you’re satisfied with the colors and coverage, let the paint dry. I added words like “dock,” “cargo,” “heavy” and “up” to the dresser and desk with a stencil and white paint in random areas. I sealed both the dresser and desk with two coats of durable clear topcoat. The finishing touch for my cargo pallet furniture was adding rope handles that I made with jute rope.
Those are all the steps to create and paint a faux wooden pallet look. Nobody would recognize these pieces from their original state!
With a little effort and creativity, I gave a tween an awesome gift of a cool bedroom set that he’ll use for years. A new custom set like this would’ve cost big bucks, but my set was a fraction of the cost! I feel good that I saved these two sturdy pieces from a trip to the local landfill, too.

Now that I’ve shared an idea for upcycling furniture pieces, are you inspired to create something yourself? Until you visit your local Habitat ReStore, you’ll never know what creative adventure is waiting for you!
Power suits were traded for colorful flip-flops when a relocation to Florida set the stage for an opportunity to dramatically downsize and simplify the family lifestyle. Choosing to follow in the family footsteps of creativity and art, Wendi uses her barrier island 1950s waterside bungalow, as the stage for her creative outlet and blog, H2OBungalow. Using everything from paint to power tools, Wendi tackles one DIY project at a time to create a fabulous coastal home with charm.