How to make a tall planter box from pallet wood
A step-by-step guide
I love working with pallet wood. There are many great reasons pallet wood do-it-yourself projects have become very popular recently: reuse projects are environmentally friendly, the used wood offers a unique look for each project, and pallets are extremely versatile and can be used in many types of projects.
Each pallet board is unique in character and has a mysterious story of travels and escapades from its previous life transporting goods that I’ll never know. It’s fun to think that the parts to this planter box could have been anywhere in the world and may have transported anything from tools to furniture to books and so much more.
So enough about my romance with pallets, let’s dig into the DIY of how to make a tall pallet planter box.
The supplies

- Pallet wood. I used two pallets for this project.
- Saw. A circular saw, miter saw, hand saw, table saw or oscillating tool will all work.
- Drill or impact driver. I use a countersink to make a pilot hole before using fasteners when working with pallet wood. I also like to use Spax fasteners, as they are the easiest to sink in pallet wood.
- Hand tools. The essential tools of a pallet DIY kit are a tape measure, pencil, multi-tool, pliers, hammer and utility knife. The pliers, multi-tool and utility knife are good to have for those pallet boards that have a rogue shape or nail sticking out from its previous life. Also, working solo on a project, it’s a good to have clamps nearby.
The how-to
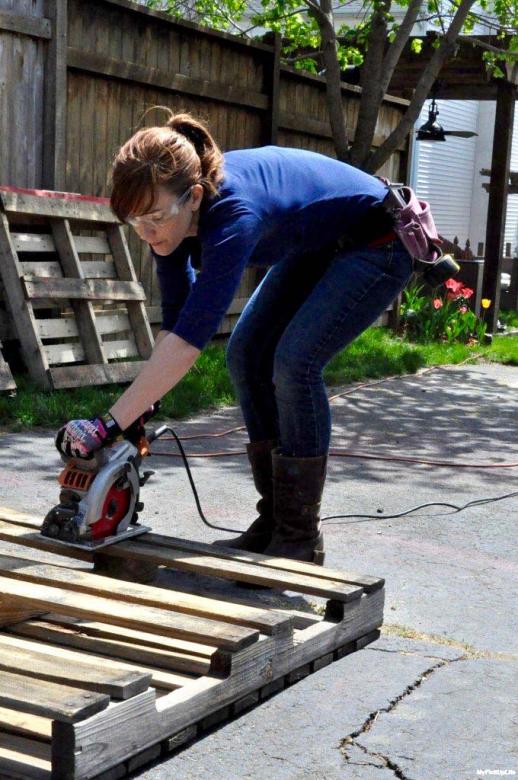
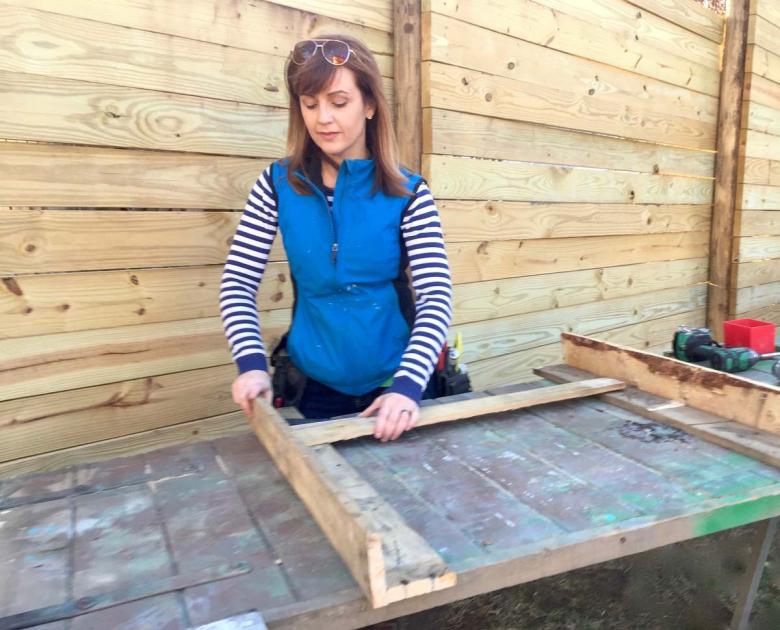
For this project, I used parts of two pallets. There are two ways that work well to break down a pallet: cross-cutting them along the supports with a circular saw or cutting the fasteners between the wood and the support with a reciprocating saw. A hand saw or an oscillating saw could free the wood, but it will take a bit longer. When working with saws, wear your safety glasses and closed-toe shoes.
In this photo, I’m cross-cutting pallet wood along the supports with a circular saw, a fast way to take a pallet apart for a project.
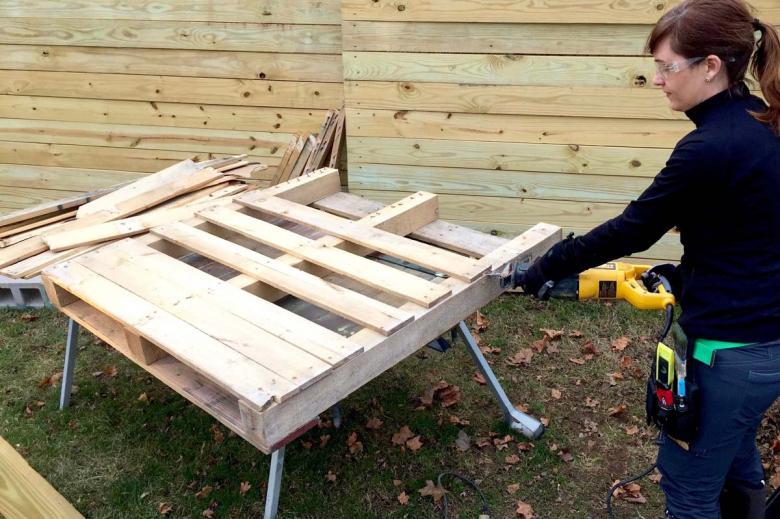
Cutting the fasteners between the wood and the support with a reciprocating saw provides longer stretches of wood, but it takes a bit more time than a circular saw.
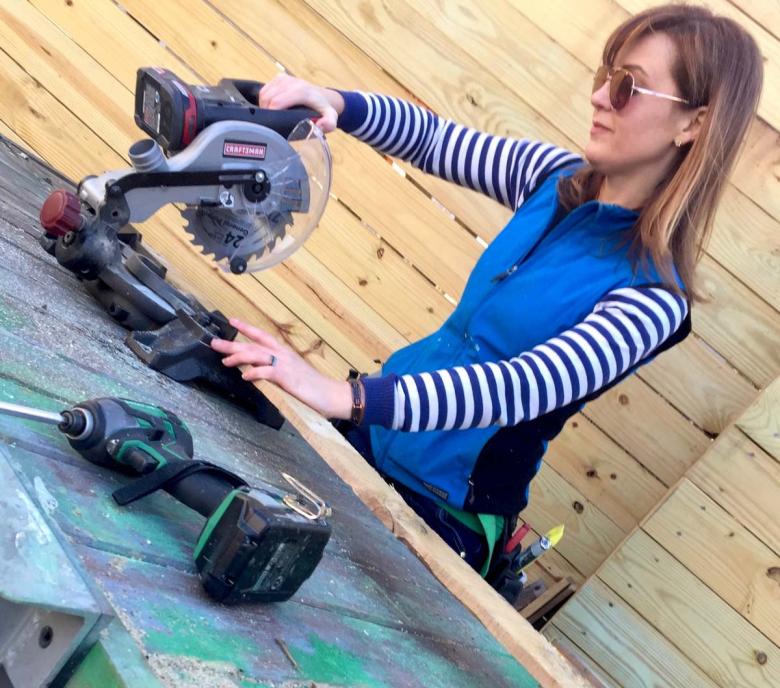
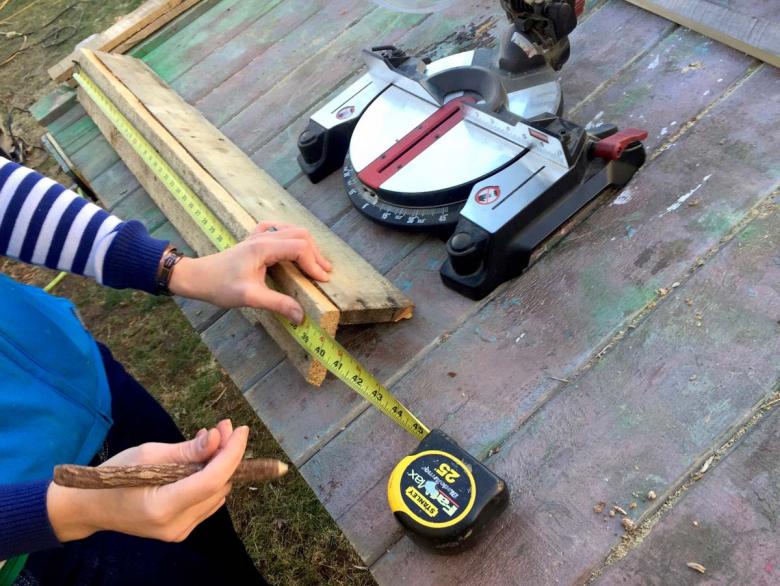
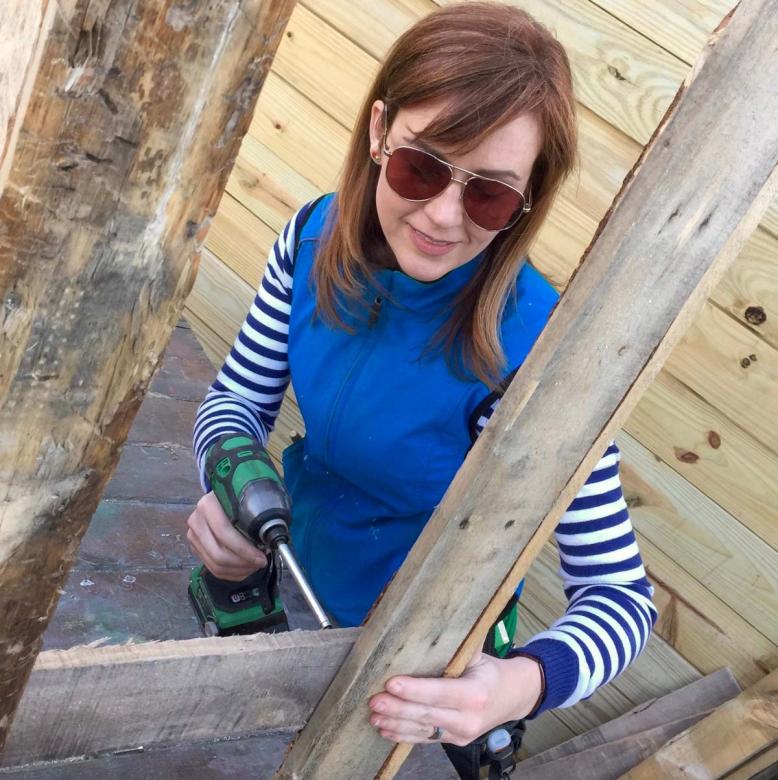
After the pallet is broken down, measure, mark and cut the wood to length. This pallet planter is 40 inches tall, so I’m cutting two 40-inch long pieces to make each of the four corners for the box. If you have shorter lengths, you can add a block at the connection points to join the short pieces to make a 40-inch length.
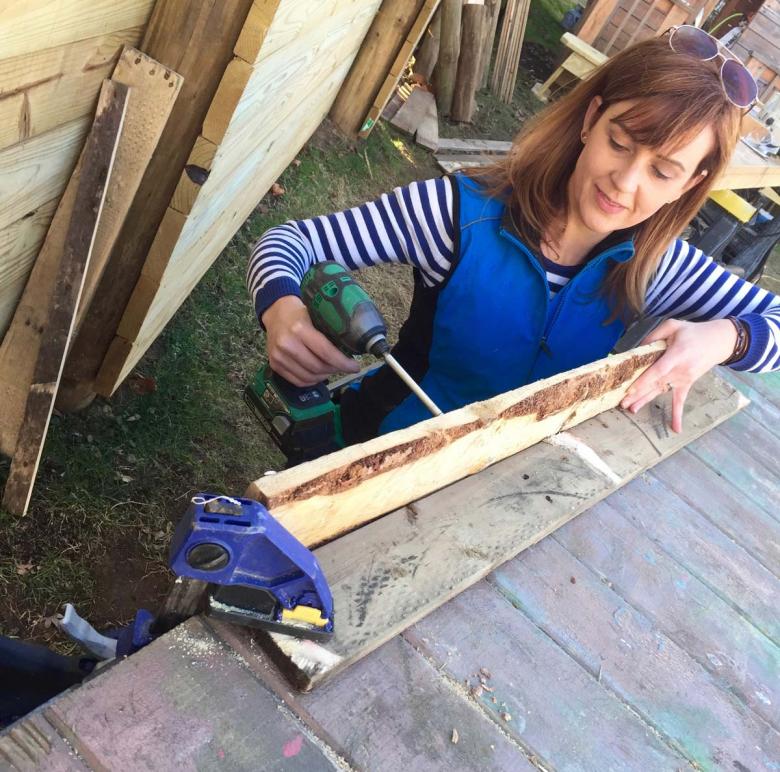
After each piece is cut, fasten two 40-inch pieces to make a corner of the planter.
A clamp can be a huge helper when fastening wood at a 90 degree angle.
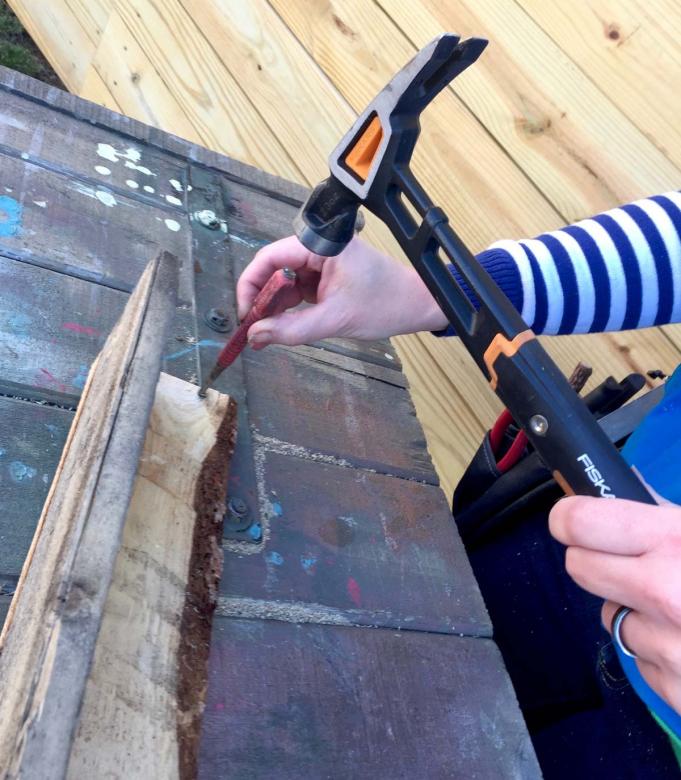
With pallet wood, there often are unexpected nails that may be nearly impossible to remove, so a nail set and hammer can help push the nails back into the wood.
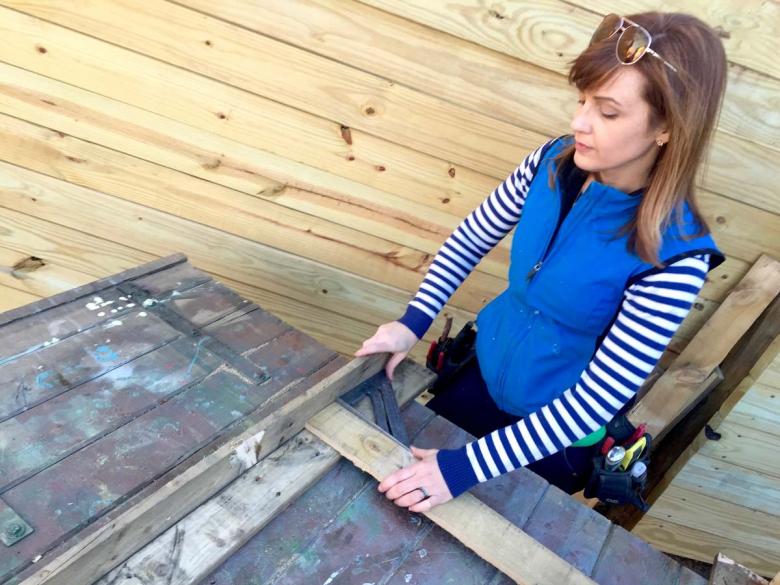
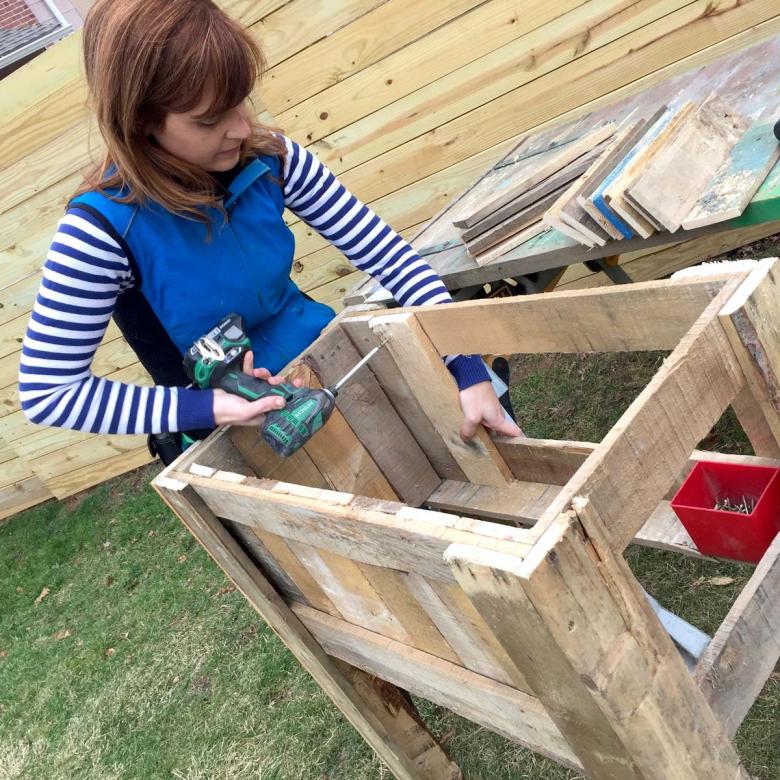
After all four corner supports are constructed, start laying out the planter box. A square is a handy toolbelt tool that helps make sure the angles are exactly 90 degrees.
Then it is time to fasten the planter box pieces with two screws in each side.
After constructing one side, it’s time to put the planter project on a table to attach the other pieces.
Each side is screwed together in two places.
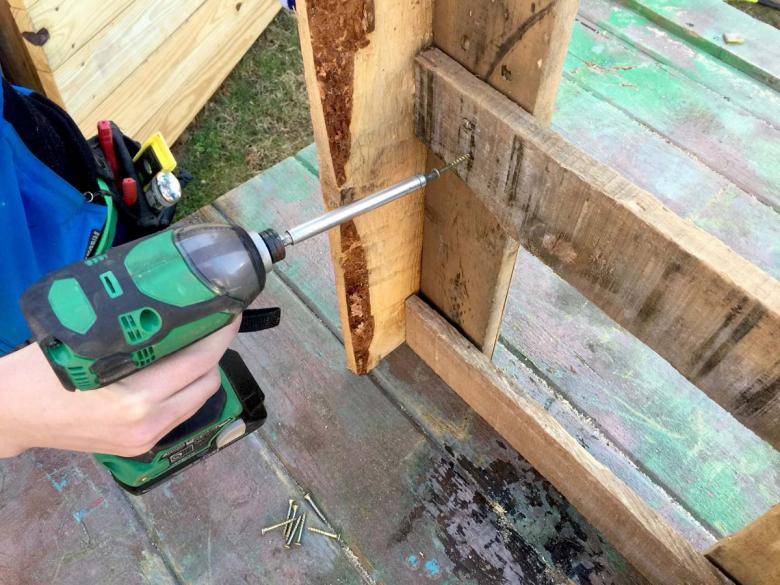
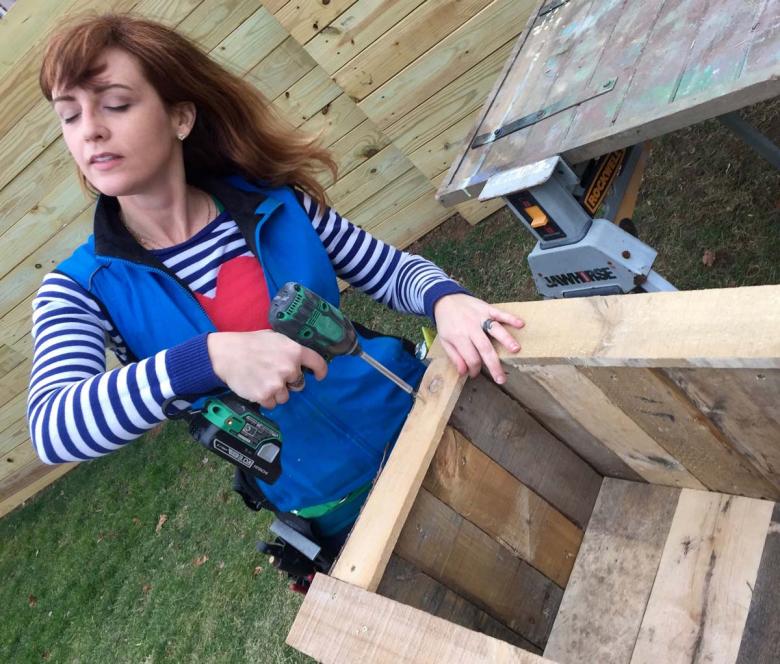
After the frame of the box is secure, fill in the sides with additional pieces of pallet wood. I like to hide fasteners on decorative projects, so I’m fastening the wood from the inside of the box.
The wood thicknesses of pallets can vary slightly, while screws are exactly the same length. An easy trick to make sure you don’t pierce through the other side of wood is to angle the way the screw goes in.

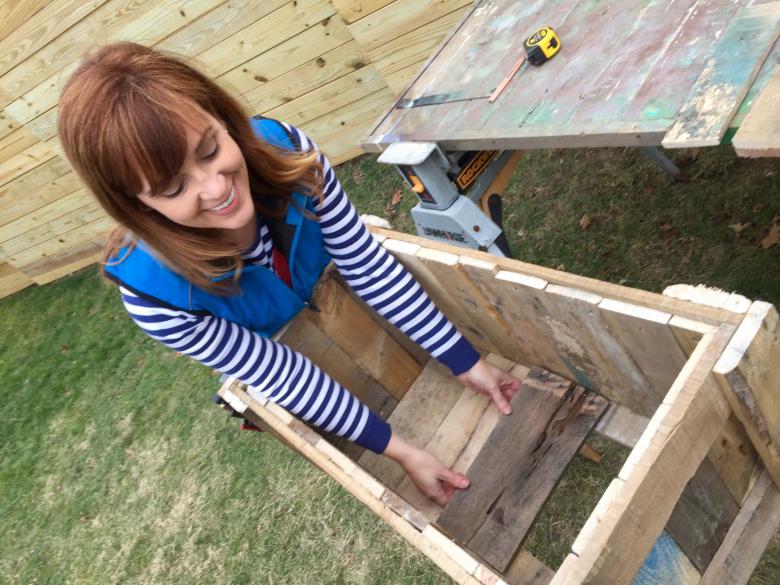
For this project, I put in the bottom without attaching the pieces. This will make it easy to clean out the planter later.
Yes, you can have a meditative glamour moment when you do DIY, especially when you’re putting in the final fastener. Hooray!
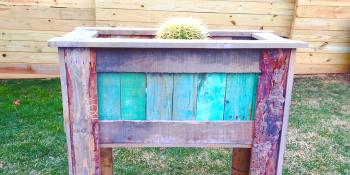
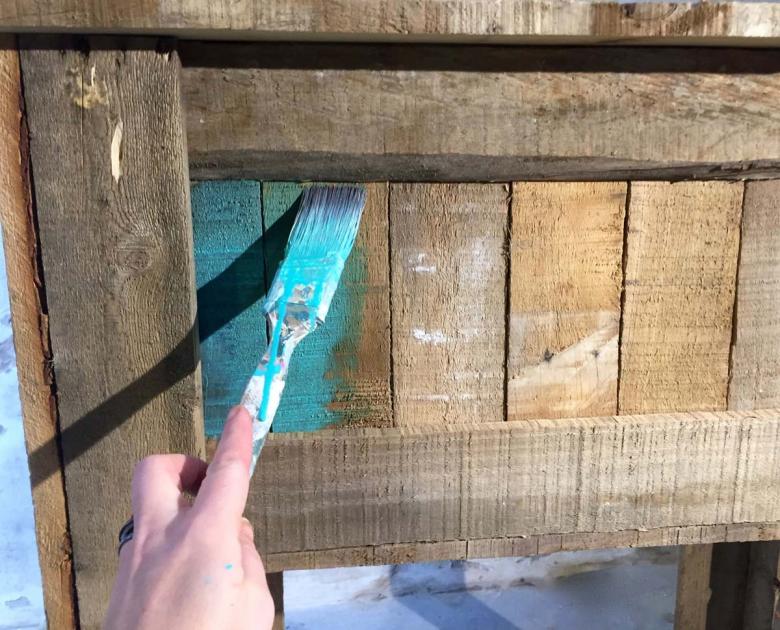
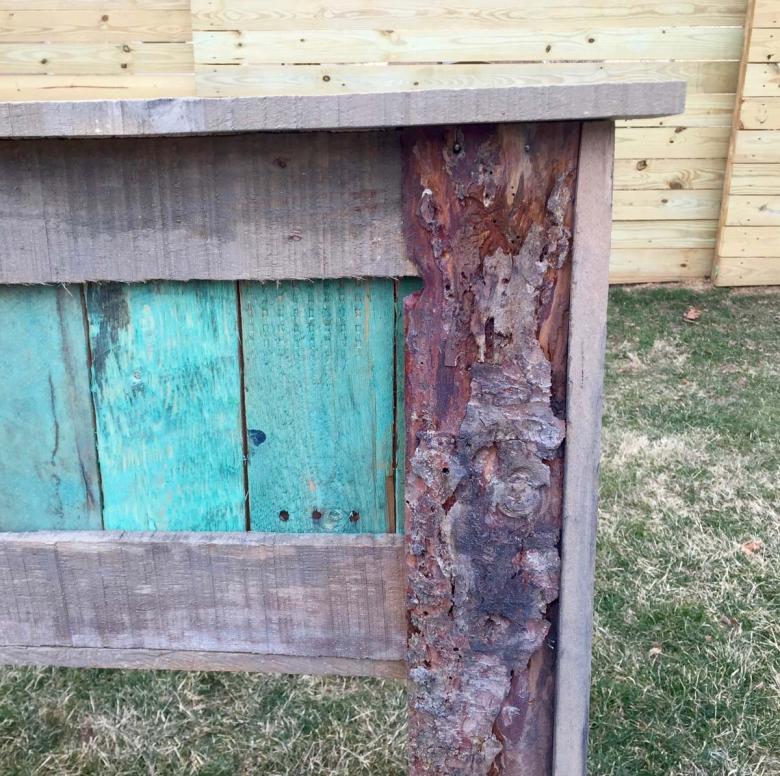
For pallet projects, I always recommend sealing the wood. A clear sealer will work fine, if you love the look of pallet wood. I chose to add a turquoise wash—mixing water with paint—to give this planter color without compromising the rustic charm.
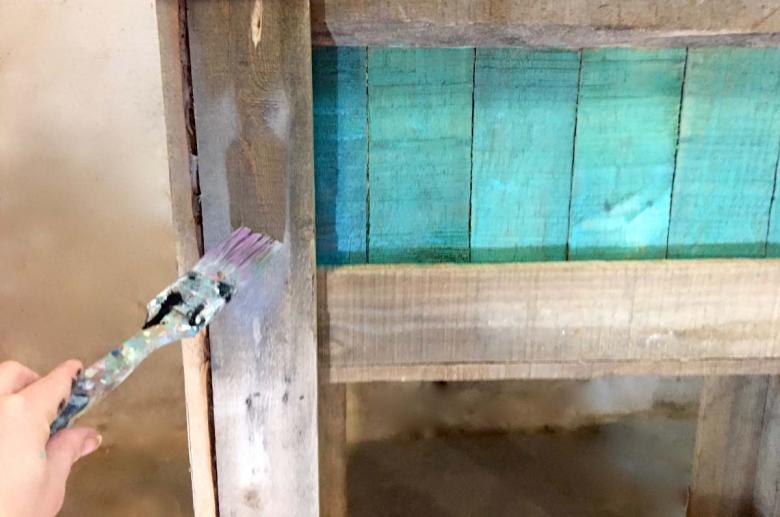
I also used a gray wash for the other parts of the pallet planter.
The inside of the planter is ready for plants. You may not be able to see in the photo, but I dusted some glitter spray paint over the entire planter. It’s a subtle way to have fun moments of shine and glamour on a farmhouse-style planter.
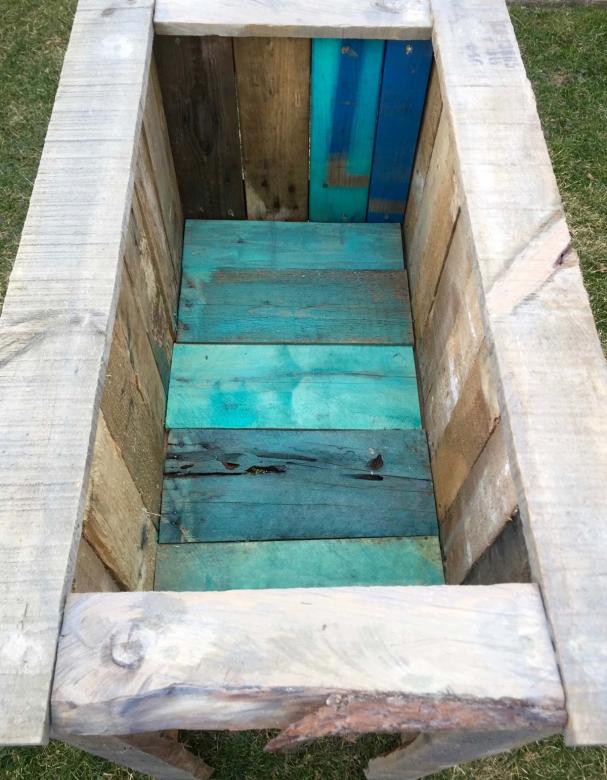
I purposefully chose pallet wood that has a bit of decomposition and age. I enjoy the shadows and textures that Mother Nature creates as wood ages. Now that it’s sealed, the aging process will greatly slow down.
The new planter looks very smart with a succulent plant. Spring flowers inside the tall planter box also make me smile.
I hope you enjoyed this project, and I wish you the best of luck with your next DIY project.
Theresa Clement co-hosts the MyFixitUpLife talk show with her husband Mark, who is her partner at work and at home. She is the designer for Food Network’s ‘Save My Bakery,’ and designed for Extreme Makeover: Home Edition. She is a licensed contractor, certified color consultant and certified aging-in-place specialist with a focus on Alzheimer’s. She is an author of Do-It-Yourself Home Improvement, DIY Quick Fix and Complete Guide to Shelves & Built-Ins. You can get in touch with her on Twitter for any DIY questions you may have!