How to refurbish an old dresser
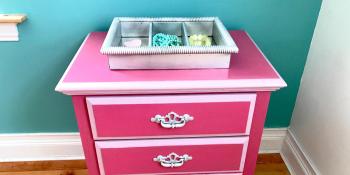
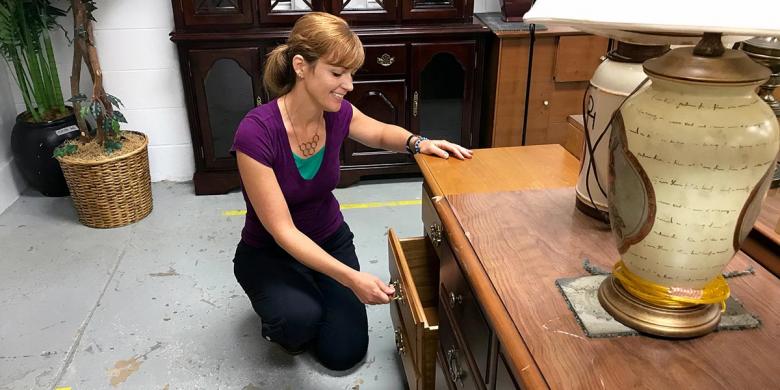
Before it became a bold pink statement, this little dresser was just $15 at the Habitat for Humanity of Montgomery and Delaware Counties’ ReStore in Pennsylvania.
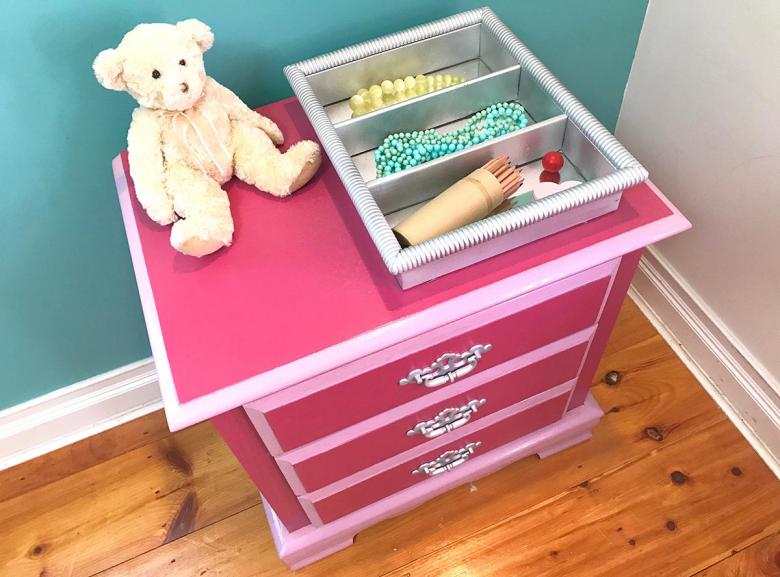
I also spied a little mirrored tray for just $5 that fit perfectly both inside the dresser drawer and on top. A little accessory like a tray can add so much, and I’ll show you how to refurbish this old dresser and tray into a matching set.
Like most of the new and gently used furniture at Habitat for Humanity ReStore, the dresser was ready to use today. However, my son’s friend needed a place to store clothes in her family’s apartment, and to really fulfill the mission of creating a girl-empowering dresser, it needed her favorite color: pink.
I gathered up my DIY mojo and the supplies for this refresh project.
Supplies needed to refurbish an old dresser
- Sandpaper in fine, medium and coarse
- Oscillating tool with sanding attachment and pads
- Cloth for wiping sanding dust
- Screwdriver for removing hardware
- Paint brushes
- Drop cloth
- Water-based pre-stain
- Water-based stain in pink
- Stir sticks (since stain is stirred, not shaken – sorry, James Bond)
- Silver spray paint
- Glitter spray paint
- Painter’s tape
I got started by removing the hardware and the drawers. Beyond just the new pink stain for the wood parts of the furniture, I have a plan to update the hardware in a girl-empowering style, too. We’ll get to that in just a bit.
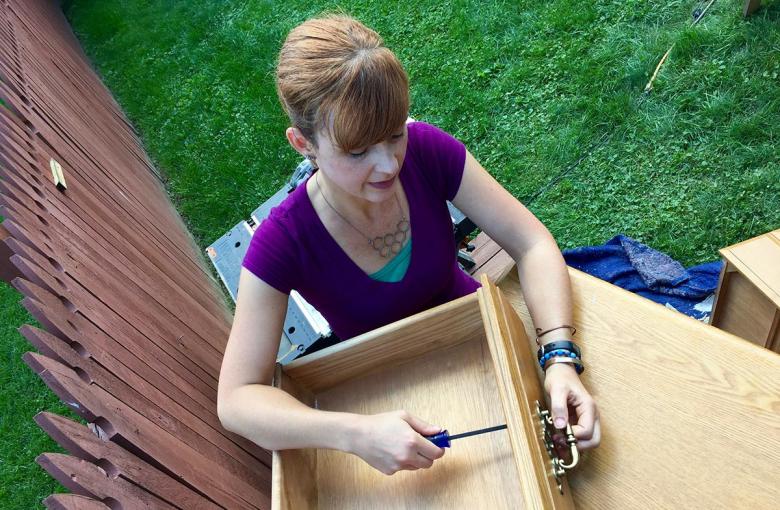
With the parts of the furniture set out on tables, I’m ready to sand and remove the old finish. This opens up the natural wood to receive the new color stain. Sanding takes time and creates a lot of dust, which is why I made sure to work in my backyard and work on a day when Mother Nature was smiling upon me with good weather.
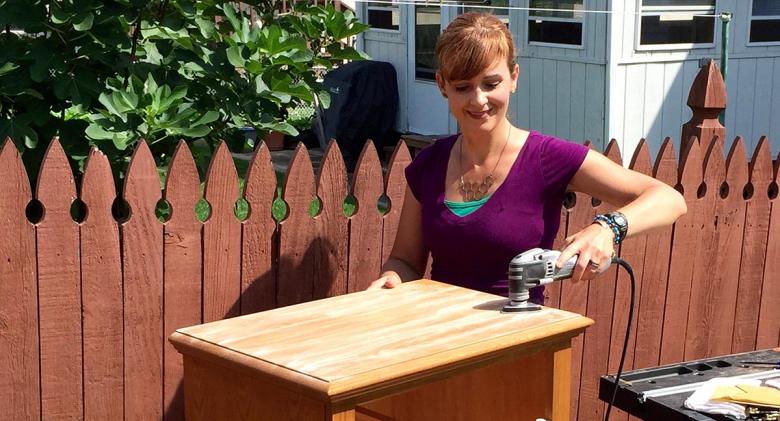
If you don’t have a powered sander, sandpaper can get the job done. It just takes longer. Even if you have an oscillating tool that helps with the flat surfaces – and some of the rounded edges – it doesn’t quite get into trim details perfectly. A trick is to fold over sandpaper on a stir stick to get even sanding in those areas.
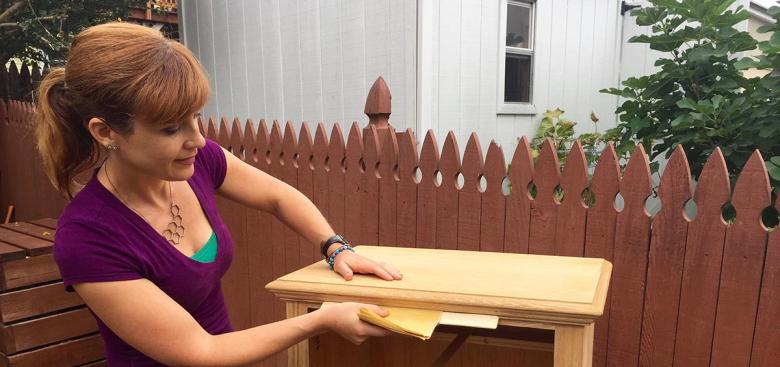
After about two hours of meditative work sanding the wood, the next part is wiping away the dust from the surfaces. Before I apply the color stain, I use a pre-stain wood conditioner to open up the grain so it’s ready for an even coat of color stain. Whether it’s pre-stain, stain or sealer, always apply in the direction of the wood grain.
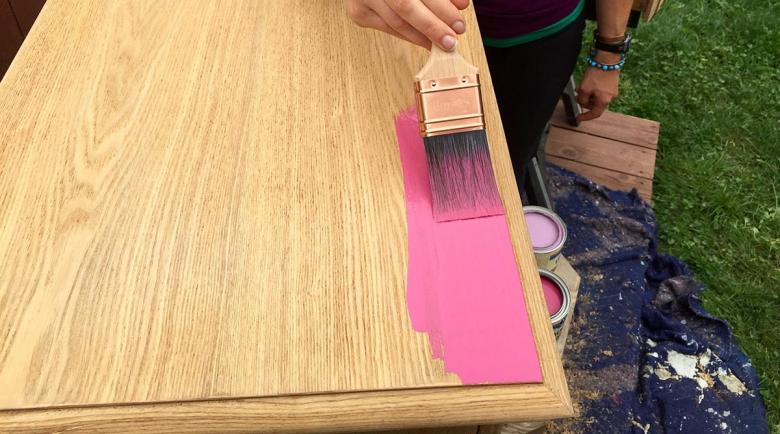
I applied a protective finish after the two coats of stain dried, just to make sure the little dresser is as durable as it can be.
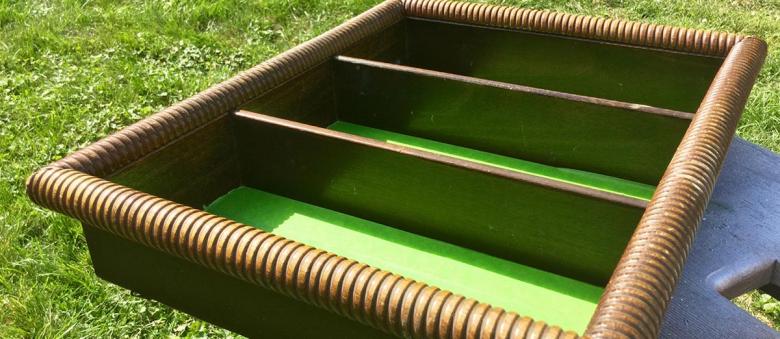
Like almost every DIY project I do, I enjoy having multiple parts happening all at once. So while I was staining the little dresser in its new pink stain, I started working on updating the tray in a color suited for a little girl who loves the girly vibe.
First, I cleaned the tray to remove any hints of dust or other bits. Then I lined the inside of the tray with painter’s tape to protect the interior mirror finish.
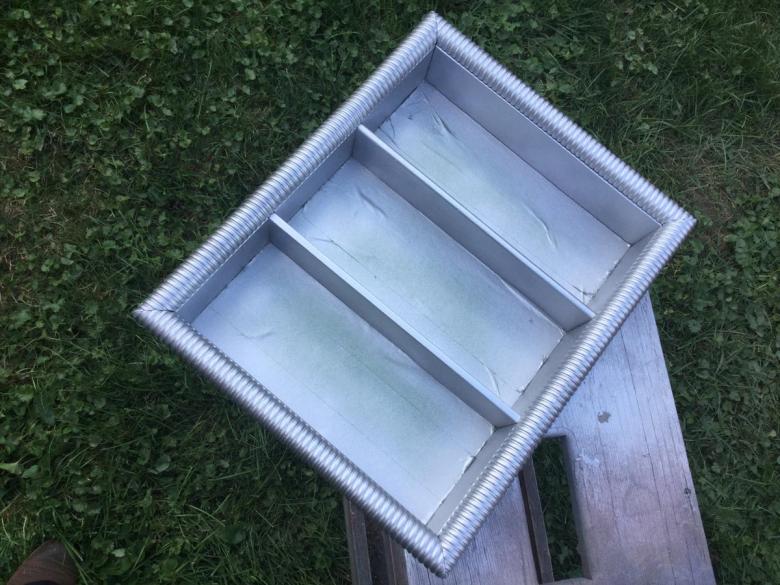
I chose a metallic silver spray paint to quickly dust a few coats on the tray. After the silver paint was dry, I added glitter spray paint to give the tray a little sparkle.
While the tray was now looking perfect for a little pink dresser, the old hardware on the dresser was a little less fitting. So, I did the same steps to transform the hardware.
After cleaning the hardware, I laid out the pieces for paint. It’s important to wait for each coat of spray paint to dry before moving to the underside part of the hardware. If it’s still wet, it may be sticky and damage the finish.
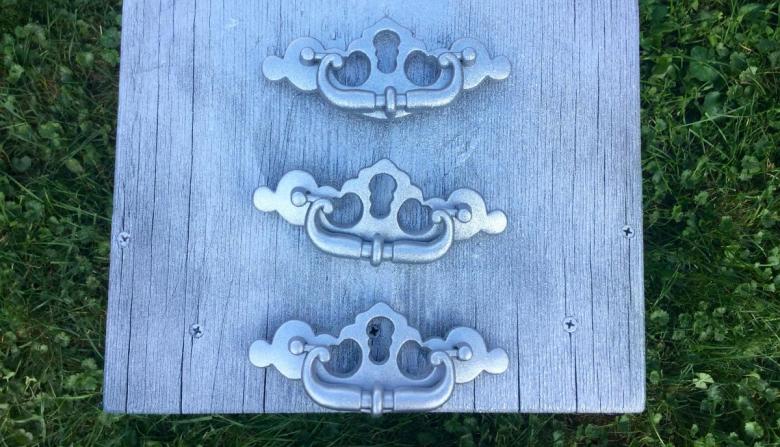
After the paint was dry, I reattached the glittery hardware to the dresser and added the new glittery silver tray on top. I think the sparkly accessories make this makeover perfect for a girl who loves a lot of glam.
If you are interested in doing a project like this, check out other ReStore blogs for more inspiration, and head down to your local Habitat for Humanity ReStore to get started.
Theresa Clement co-hosts the MyFixitUpLife talk show with her husband Mark, who is her partner at work and at home. She is the designer for Food Network’s “Save My Bakery,” and designed for “Extreme Makeover: Home Edition.” She is a licensed contractor, certified color consultant and certified aging-in-place specialist with a focus on Alzheimer’s. She is an author of Do-It-Yourself Home Improvement, DIY Quick Fix and Complete Guide to Shelves & Built-Ins. You can get in touch with her on Twitter for any DIY questions you may have!