
Make your own DIY gallery wall with repurposed vintage frames
Habitat for Humanity ReStores are a great place to find inexpensive materials to elevate into something modern, new and luxurious. Today, we take a look at how to repurpose old vintage pictures frames into a do-it-yourself gallery wall that’s straight off of a Pinterest board and on budget.
See how Carly Gonia and Melissa Campbell from TheMine.com, a home furnishings website, flipped picture frames from their local Habitat for Humanity ReStore in Bellevue, Washington, into chic interior decor.*
Step one: Shop for frames at Habitat ReStores
Frames can be an expensive part of adding artwork to your home – but they don’t have to be. Hunt for frames that come in a variety of sizes and shapes to add visual interest to your gallery wall. Pay attention to the pattern on the frame and ignore everything else!
The artwork can be swapped out and the color of the frame can be changed. Make sure there isn’t any damage that can’t be repaired or covered with paint.
We bought five different shapes, sizes and styles of picture frames.
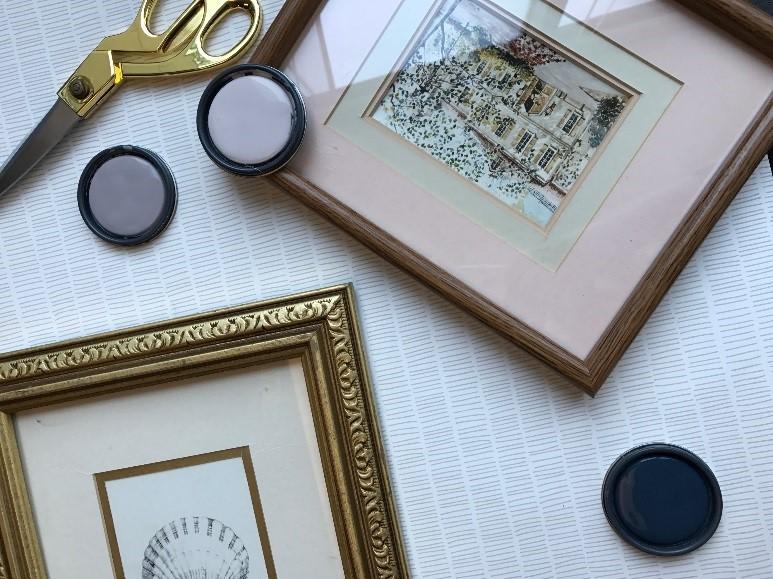
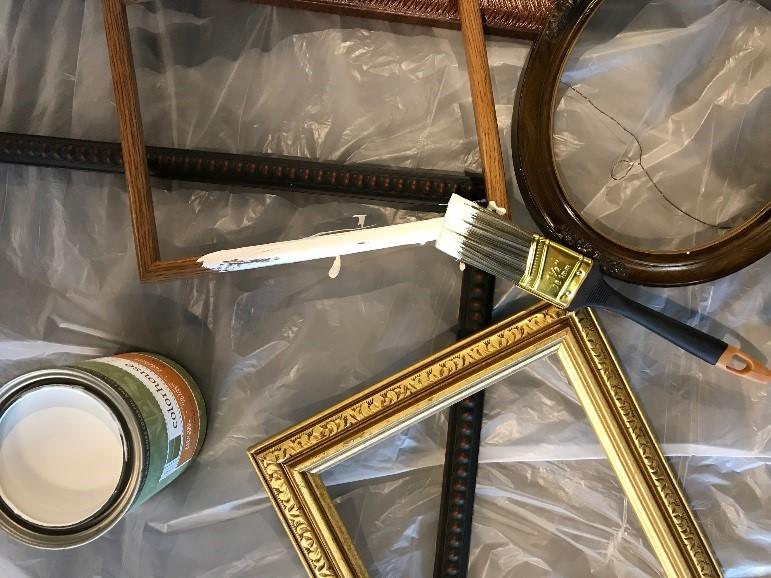
Step two: Paint your frames
Find the right paint for your frame. We scoured paints at TheMine.com and ordered a few sample cans to play around with the colors until we liked one best that went well with the decor. Choosing a color that matches your wall can add a minimalist feel, while selecting a variety of colors can add a more modern, playful look.
We picked a white color since we know that never goes out of style. Eggshell is a great finish on frames.
Let the frames set for at least 24 hours before adding art.
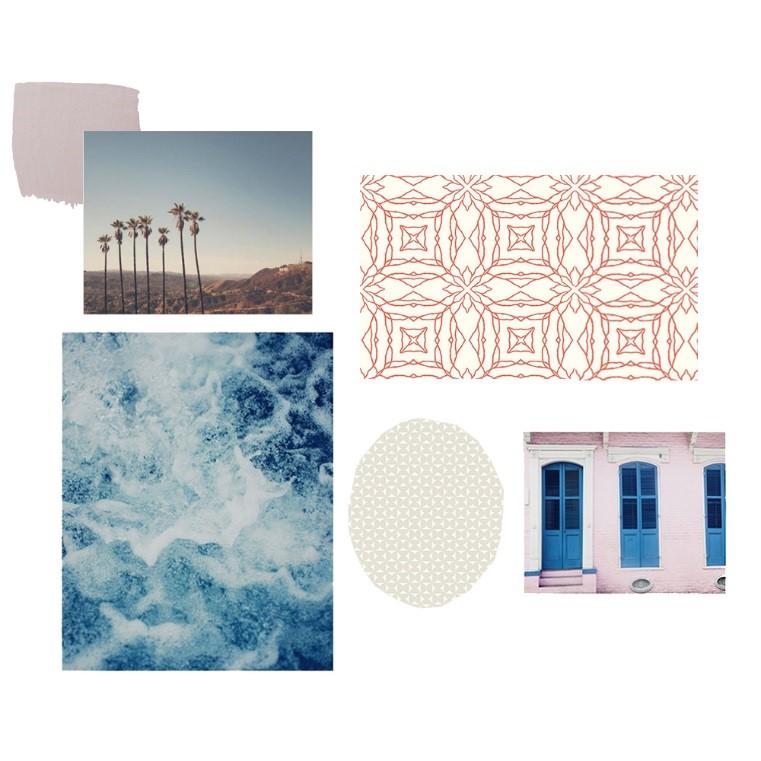
Step three: Pick your artwork
Find artwork or prints to fill the frames. Creating a mood board on your computer can help you visualize the final product. We selected wallpaper and some of our favorite art prints at TheMine.com.
The framed wallpaper adds texture and dimension to our photography prints. To add extra visual interest, you can have artwork to the edge of some frames and some frames with matting.
Once you’ve selected your artwork, it’s time to frame them!
Step four: Plan your gallery wall and install
Once your frames are done, plan how you want the frames to look on the wall.
An easy way to plan your gallery wall is to trace each frame on construction paper or newspaper, cut out the outlines, then tape the sheets of paper on the wall to organize them. Trace the outline of the frames on your wall in pencil, then remove the paper.
Align your frames to the wall and hang them, but make sure you use a level!
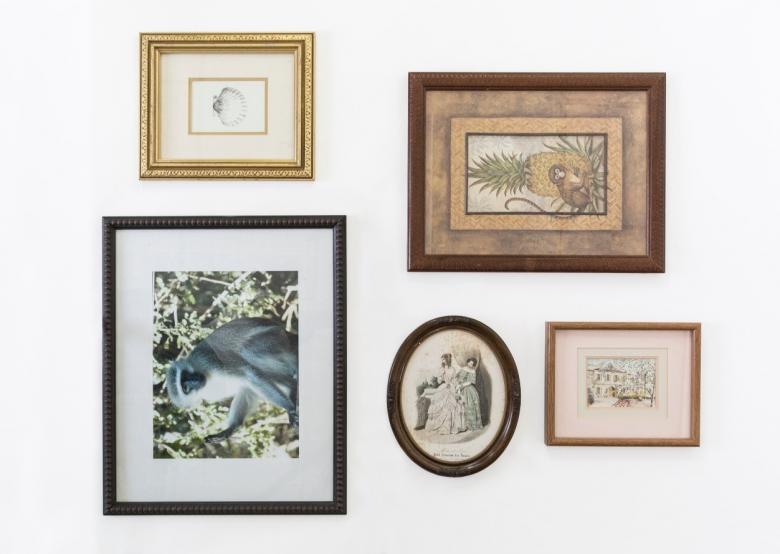
Step five: Enjoy your new one-of-a-kind gallery wall!
Our final product used white eggshell paint on a light mint wall to create a desert-inspired look in our mid-century home.
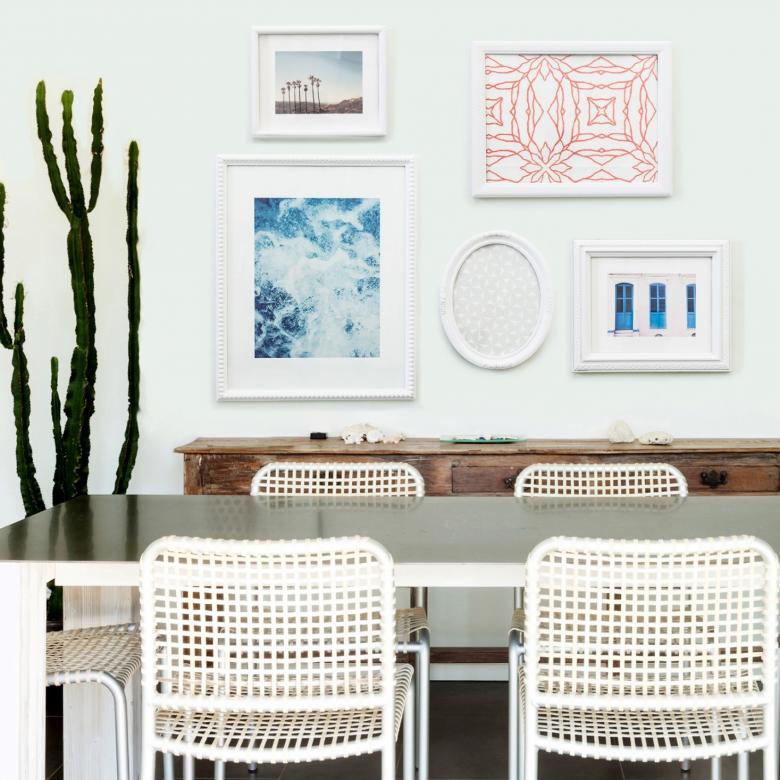
We’re big fans of saving money on picture frames but splurging on art and Habitat ReStore and TheMine.com let us do just that! Be sure to shop our inspired collection.
*Note: All stores in Washington state are known as Habitat Stores instead of Habitat ReStores; they have the same great inexpensive finds and proceeds go to help build houses in your community and around the world.
The Mine is an online retailer of fine furnishings. The Mine’s Trend Analyst Carly Gonia and Senior Public Relations Specialist Melissa Campbell are responsible for flipping the donation picture frame finds into chic interior decor transformation you see in this blog.