A dream kitchen island makeover with help from the Habitat ReStore
Thanks to our kitchen island makeover, the Fairfield County ReStore in Stratford, Connecticut, now wears a figurative red cape and can scale tall buildings in my eyes. A few years ago, we purchased an old historic home with most of the décor still lingering from its 70’s remodel. We had plans to remodel our kitchen, but these plans required years of savings. And so the 70’s lived on in our open concept family room/kitchen until we discovered the Habitat for Humanity ReStore.
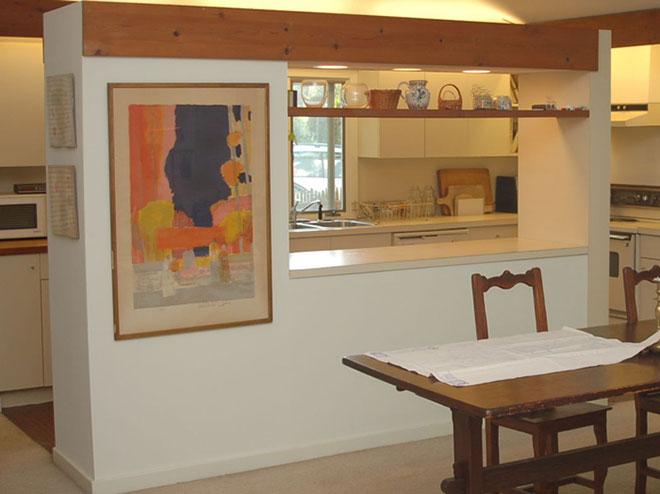
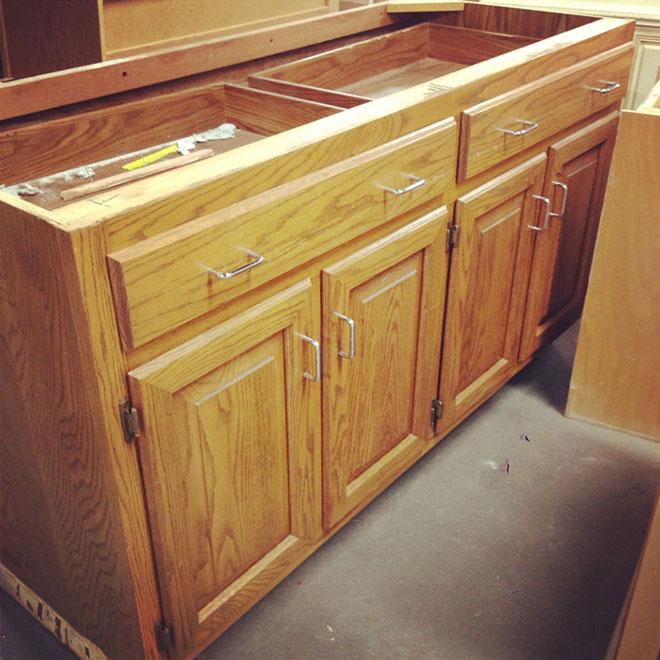
To reach our goal affordably, our contractor made the simplest suggestion, and an idea was born! The ReStore was our one hope for an updated kitchen on a budget. With fingers crossed, I ventured into my local ReStore and walked to the kitchen cabinet section. At first I overlooked this base cabinet. It was nowhere near the style I was looking for until I envisioned the possibilities. 110 later, this kitchen savior was mine.
Painting kitchen cabinets is never a DIYers favorite thing to do, but the transformation is hard to deny. The process is moderately labor intensive, but not complicated. (And worth taking your time to do right!)
The first step is to sand. Start with a rougher sandpaper and work your way to a smoother grain. Get a good tack gloss and deglosser to make sure not a speck of dust is left behind. Ask your local paint retailer for a GOOD primer. One meant for laminates is usually the heaviest duty one. Mention that you’re painting cabinets, and they will also give you one that will self-level (dry smoothly).
Follow the directions on your primer’s label, and let it sit until properly cured. Lightly sand and go back over with your tack cloth. With a good quality brush, low pile roller or paint sprayer give your cabinet its first coat of paint. Sand again, go over with tack cloth and apply a second coat of paint.
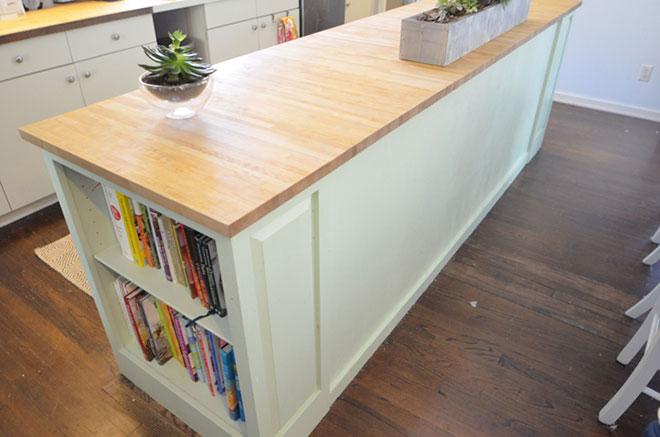
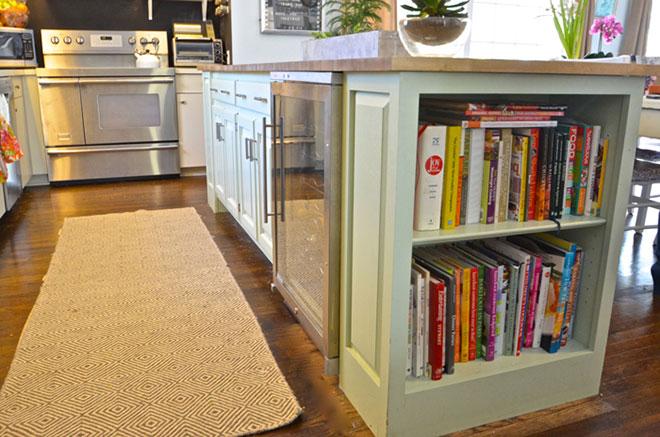
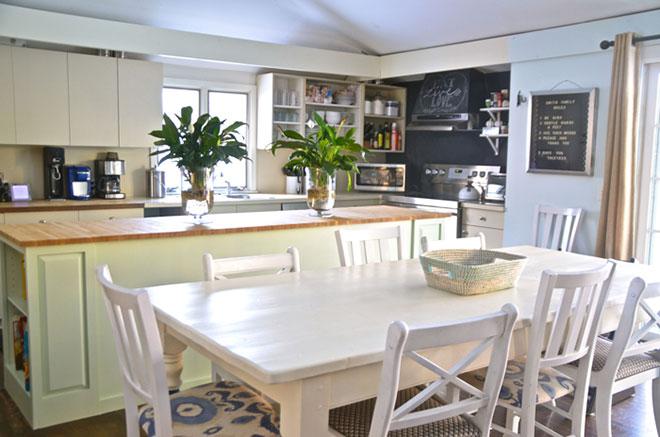
This base cabinet fit the space of our kitchen island perfectly. Our contractor built two simple shelves for either end to hold cookbooks, etc. These also helped to bring the new kitchen island to the same dimensions of the old island so there was no need to patch the hardwood floor. I found the wine fridge at an estate sale to finish out the new island.
Countertops can be expensive. Super expensive. We turned to a modern furniture retailer that had lots of different butcher-block options for ours. Because of the length of our island, this actually took three countertops that we cut to size and then pieced together. It’s not a perfect solution, but for our budget I wouldn’t go any other way!
Two days of labor, some painting and elbow grease and our kitchen was transformed! I mean it’s nothing like the dated dreariness of the original. It’s wide open and bright and cheery and functional and pretty!
A complete kitchen island makeover, all thanks to one discarded base cabinet. Like I said, ReStore to the rescue!
Hi, I’m Charlotte! I’m fixing up our 100-year-old house and artfully hoarding armchairs in the garage. My days are spent writing pieces for my blog, painting, sanding, laughing and negotiating with our four kids.