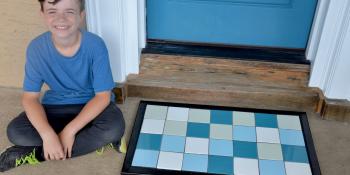
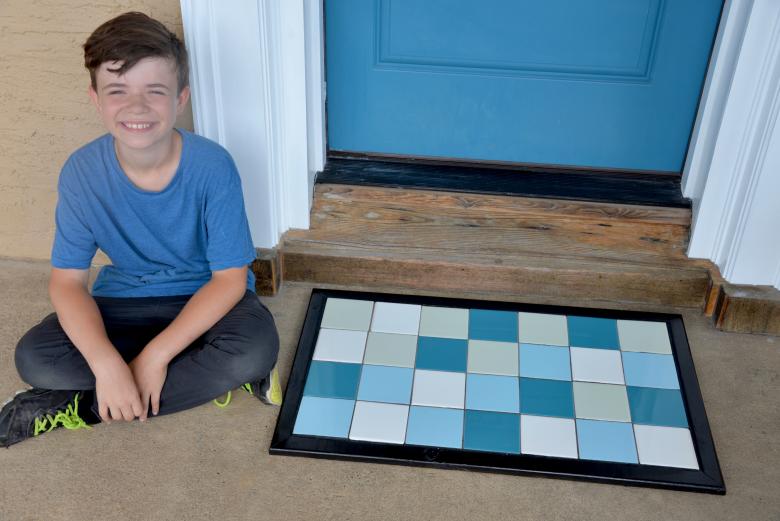
Upcycle idea: Transform repurposed tiles into a new doormat
One of my goals as a do-it-yourself mom is to share skills with my son, Jack, through weekend projects. As we work together, Jack can learn how to use tools safely as well as gain the confidence and independence to do home improvement projects around the house.
After talking about a few ideas, Jack suggested we make a tile doormat for our front porch. This plan made his DIY mom happy because it involves a variety of tools and skills, and Jack’s always proud to see his hard work result in a finished project! As you follow our process below, you can also check out our video on the MyFixitUpLife show’s YouTube channel.
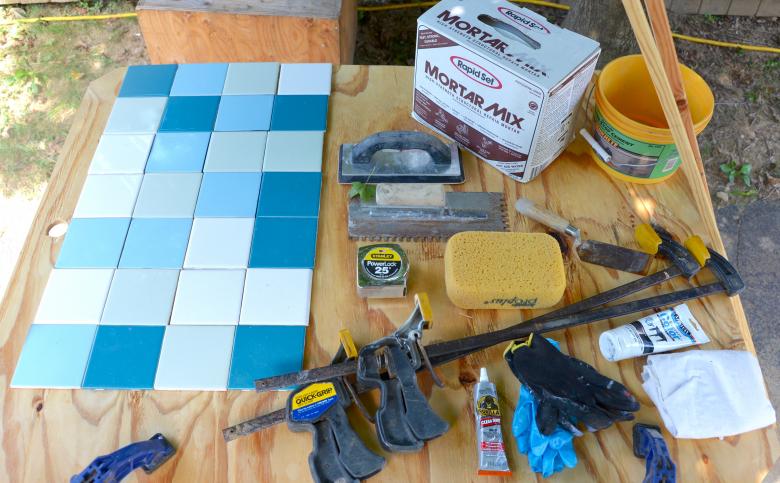
The first thing we did was make a list of supplies and tools we needed, and then checked our home’s workshop for what we already owned.
Supplies
- Tile
- Tile backer board
- Grout
- Mortar mix
- Notched trowel
- Tile float
- Sponge
- Miter saw (or miter box)
- Angle grinder (or metal straight edge and utility knife)
- Bucket
- Construction adhesive
- Stain or paint
- Soft cloth
- Clamps
- Gloves
- Safety glasses
- Tape measure
- Pencil
- 1x wood (for the doormat’s frame)
Since professionals and other do-it-yourselfers often donate tile to Habitat for Humanity ReStores, we headed to our local ReStore to pick up an assortment for our piece.
Habitat ReStores are a great place to shop for projects like this – each store has a wide selection that changes often, and you can find new and gently used home improvement items below retail prices. Your purchase also supports Habitat’s mission, helping people in your community and around the world achieve decent, affordable housing. It’s a win-win.
After we gathered our supplies, we were ready to decide on the exact size of the tile doormat. There are two aspects that determine the size: the size of the entryway and the size of the tile. Since the typical entry door is 3 feet wide, most doormats are between 18 inches by 24 inches and 24 inches by 36 inches.
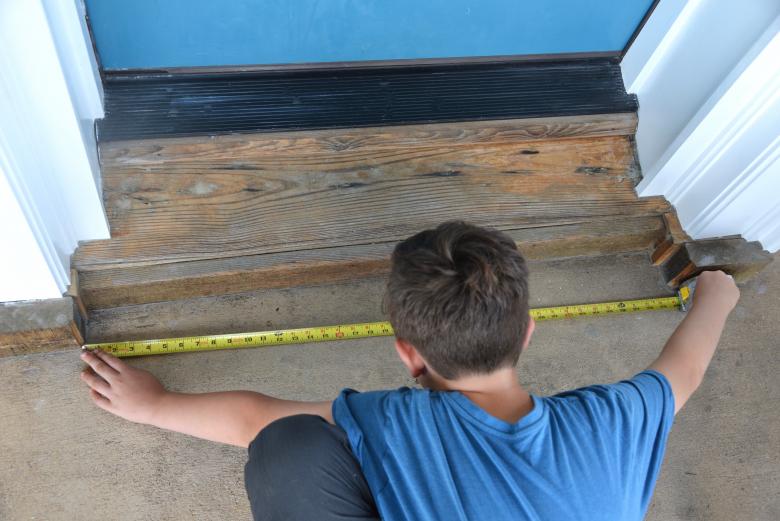
After Jack measured our doorway opening, he used that measurement to figure out the tile pattern. While I wanted to make something more complicated, with the idea to cut the tile to make a mosaic design, Jack wanted to use the tile in the original size.
“Mom, why do you always want to make things harder when they could be so much easier?” he asked. As this is already a multi-step project, I realized that he was right. We went with his design.
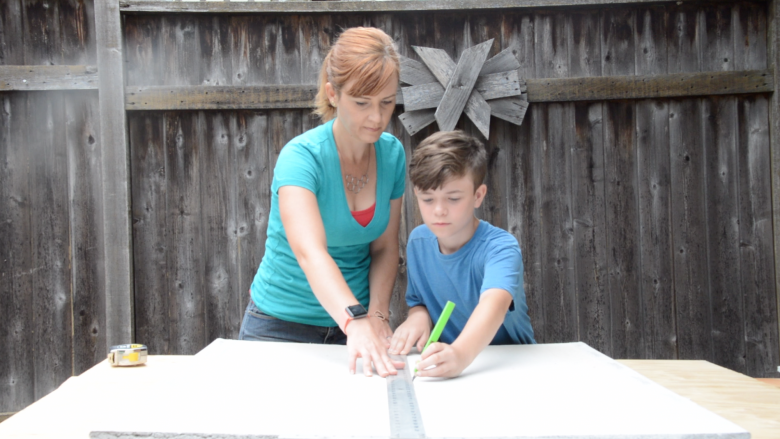
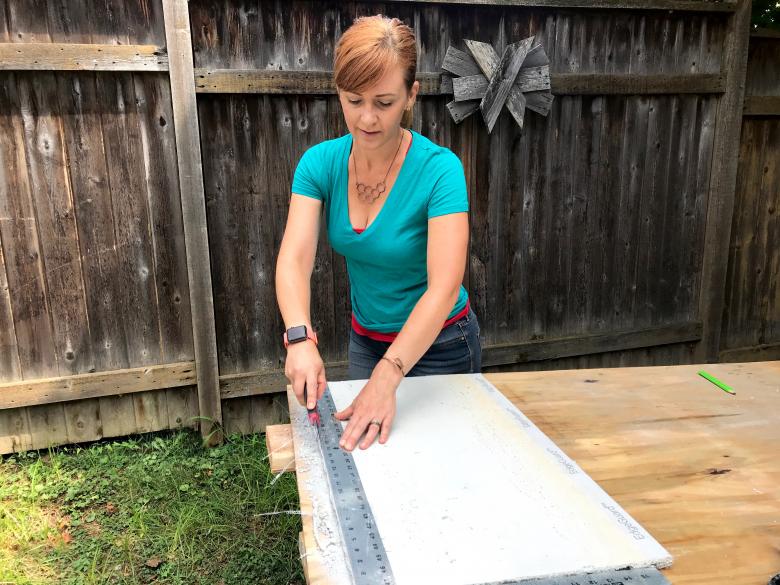
After determining the size of the doormat, we were ready to measure and mark the tile backer board. Using the metal straightedge, tape measure and pencil, we marked the board.
Then I used an angle grinder to cut the backer board to size. The board can also be cut with a utility knife.
I used a utility knife to clean up the edges after cutting the board with the angle grinder. Since the backer board is made with concrete, it’s challenging to get a smooth edge on the first pass.
We then measured and marked the 1x wood for the doormat’s frame.
The frame’s pieces can be cut at a 90-degree angle or at a 45-degree angle for mitered corners. We chose mitered corners, so I used my speed square to mark the 45-degree cuts.
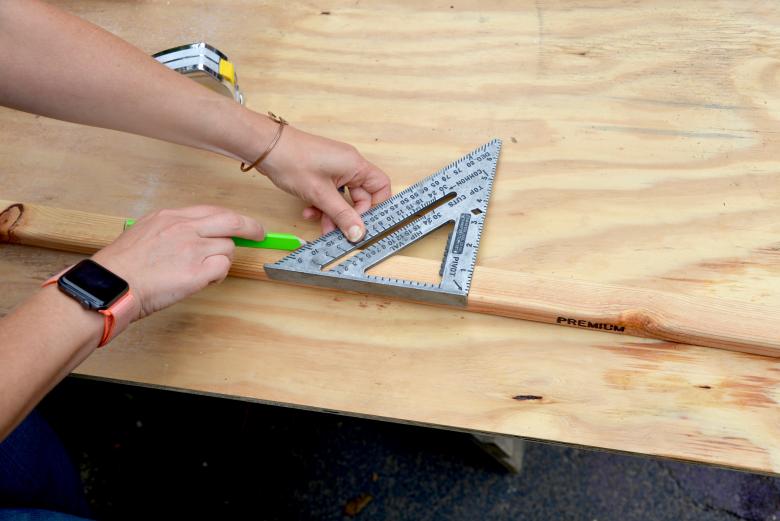
Next, I used a miter saw to cut the wood to length. Jack and I glued the mitered corners of the wood with a strong adhesive made for wood. We then clamped the frame together and let it dry. After it was dry, I glued it to the tile backer board with construction adhesive. We waited until the glue was cured before moving to the next step.
Ready to embark on your own DIY adventure?
Ready to embark on your own DIY adventure?
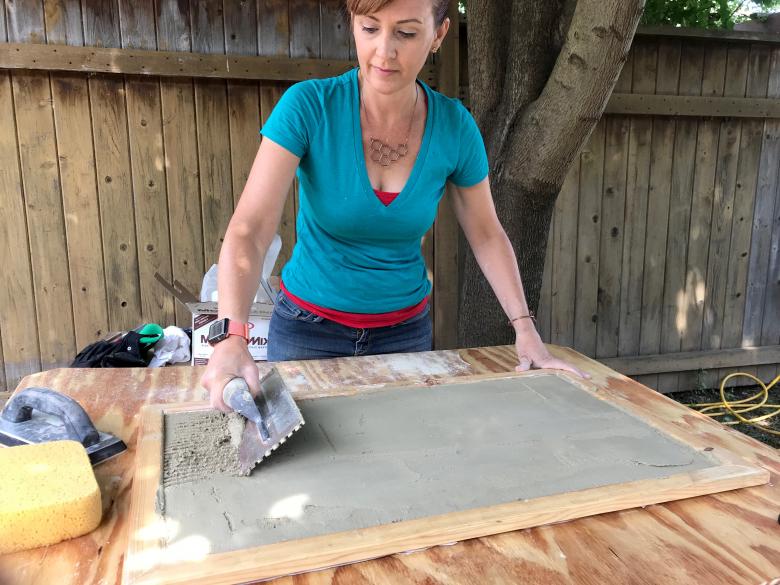
Jack and I mixed the mortar mix and spread it out on the backer board. I ran the notched trowel through the mortar at an angle, and we set the tile in the frame.
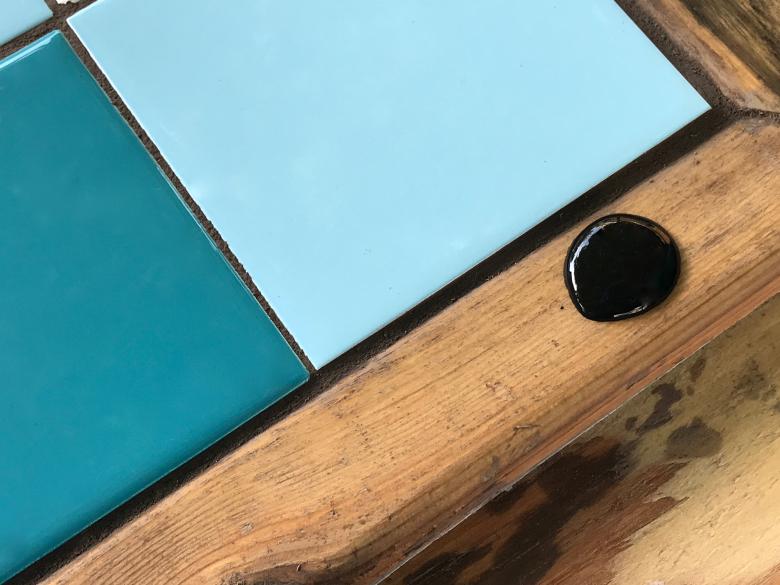
We mixed the grout and then spread it over the tile with a tile float. After letting it dry according to the mortar’s directions, we lightly sponged off the excess.
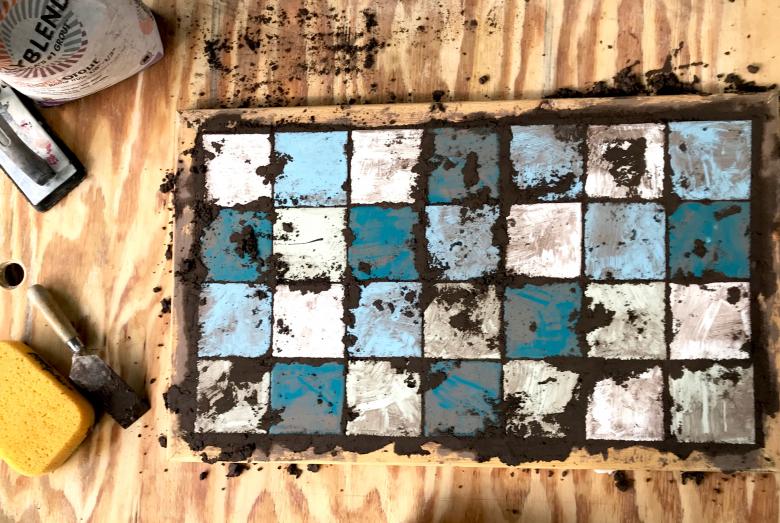
The next step is staining the wood frame, and Jack wanted the frame to be black. We used a stain that comes in a small tube, which was easy to apply and appropriately sized for the amount we needed.
After letting the stain dry, we sealed all sides of the wood so that it’s weather-ready and set it in front of our door!
This tile doormat is more than just a doormat – it’s a reminder of the fun Jack and I have when we work together. I beam with pride every time I pass this piece. Not to mention, it’s way better than the complicated tile mosaic I first had in mind!
Theresa Clement co-hosts the MyFixitUpLife talk show with her husband Mark, who is her partner at work and at home. She is the designer for Food Network’s “Save My Bakery,” and designed for “Extreme Makeover: Home Edition.” She is a licensed contractor, certified color consultant and certified aging-in-place specialist with a focus on Alzheimer’s. She is an author of Do-It-Yourself Home Improvement, DIY Quick Fix and Complete Guide to Shelves & Built-Ins. You can get in touch with her on Twitter for any DIY questions you may have!